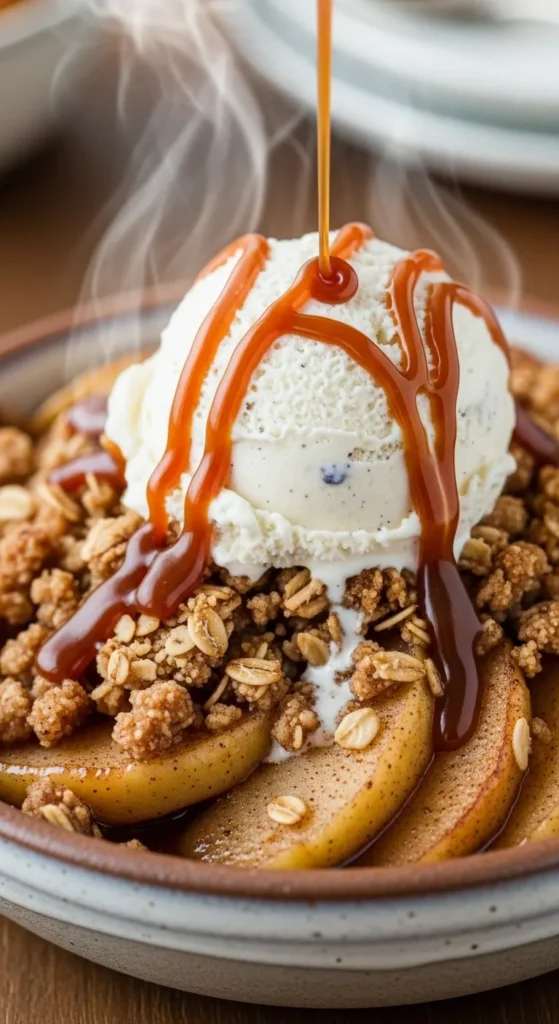
Hey, you! Yeah, the one scrolling through recipes because that fall chill has you dreaming of something warm, gooey, and basically hugging your taste buds. Picture this: apples bubbling under a crunchy topping, a melty scoop of vanilla ice cream on top, and a drizzle of warm caramel that’s like liquid gold. Sound like your kind of lazy Sunday win? Let’s dive in and make this happen without turning your kitchen into a war zone.
Why This Recipe is Awesome
Okay, real talk—this apple crisp isn’t just good; it’s the kind of dessert that makes you feel like a baking wizard even if your usual kitchen skills top out at microwaving popcorn. It’s got that perfect balance of tart apples, sweet crunchy topping, and then we amp it up with vanilla ice cream and caramel drizzle for maximum indulgence. And get this: it’s super forgiving. Burn the edges a bit? No biggie, just call it “rustic.” Plus, it’s ready in under an hour, smells like heaven while baking, and feeds a crowd—or just you over a few Netflix episodes. IMO, it’s the ultimate comfort food hack for when life feels meh.
Ingredients You’ll Need
No fancy stuff here—just everyday pantry heroes. I’ve kept portions straightforward for about 6-8 servings, so you can share (or not, no judgment). Pro tip: Measure everything out first to avoid that mid-recipe panic.
- For the apple filling:
- 6 large apples (go for a mix of Granny Smith for tartness and Golden Delicious for sweetness—peeled, cored, and sliced thin)
- 2 tablespoons granulated sugar (to coax out those apple juices)
- 1 teaspoon ground cinnamon (because what’s apple crisp without that cozy spice kick?)
- 1 tablespoon fresh lemon juice (keeps things bright and prevents browning—don’t skip it, or your apples might look sad)
- For the crisp topping:
- 1 cup old-fashioned oats (quick oats work in a pinch, but old-fashioned give better crunch)
- 3/4 cup all-purpose flour (the glue that holds your topping dreams together)
- 1 cup light brown sugar (packed tight for that caramel-like vibe)
- 1 teaspoon ground cinnamon (double the spice, double the nice)
- 1/2 teaspoon kosher salt (balances the sweet—trust me)
- 1/2 cup unsalted butter, cold and cubed (cold is key for flaky perfection)
- For serving (the fun part):
- Vanilla ice cream (as much as your heart desires—get the good stuff)
- Warm caramel sauce (store-bought is fine, but we’ll chat homemade below for extra points)
If you’re making homemade caramel (highly recommend for that fresh, warm drizzle):
- 1 cup brown sugar
- 1/2 cup half-and-half (or heavy cream if you’re feeling fancy)
- 4 tablespoons butter
- A pinch of salt
- 1 tablespoon vanilla extract (pure, not imitation—your taste buds will thank you)
Step-by-Step Instructions
Alright, let’s get our hands dirty—but not too dirty, ’cause this is easy mode. Preheat your oven to 350°F right now so it’s ready to rock. Grab an 8×8 or 9×9 baking dish and grease it up with butter or spray. Active voice all the way: you got this!
- Prep the apples. Toss those sliced apples in a big bowl with the granulated sugar, cinnamon, and lemon juice. Give it a good stir until everything’s coated evenly. Dump it all into your prepared baking dish and spread it out flat. See? Already looking tasty.
- Mix the topping. In another bowl, combine the oats, flour, brown sugar, cinnamon, and salt. Add the cold butter cubes and use your fingers (or a pastry cutter if you’re fancy) to mash it all together until it looks like chunky crumbs—think pea-sized bits. Don’t overmix; you want texture, not dough.
- Assemble and bake. Sprinkle that crumbly topping all over the apples, patting it down gently for even coverage. Slide the dish into the oven and bake for 40-50 minutes. You’re aiming for bubbly edges and a golden-brown top. If it browns too fast, loosely tent with foil. Let it cool for 10 minutes—patience, friend!
- Whip up the caramel (optional but awesome). While the crisp bakes, throw the brown sugar, half-and-half, butter, and salt into a small saucepan over medium-low heat. Stir slowly until it thickens up, about 10-12 minutes. Pull it off the heat, stir in the vanilla, and let it cool a tad. Warm it back up if needed—microwave in 10-second bursts.
- Serve it up. Scoop the warm crisp into bowls, top with a generous dollop of vanilla ice cream, and drizzle that caramel like you’re painting a masterpiece. Dig in while it’s hot and melty. Heaven, right?
There, five steps and you’re done. Short and sweet, just like this dessert.
Common Mistakes to Avoid
We’ve all been there—turning a simple recipe into a comedy of errors. But hey, learn from my blunders so you don’t repeat ’em. Here’s the lowdown, with a side of sarcasm.
- Skipping the peel on apples. Sure, leave ’em on if you want extra fiber, but you’ll end up with chewy bits that ruin the gooey vibe. Peel ’em, lazy bones—it’s worth it.
- Using warm butter in the topping. Cold butter is non-negotiable for that crisp crunch. If it’s soft, your topping turns into sad mush. Chill it in the fridge if your kitchen’s toasty.
- Overbaking like a pro (not). Check at 40 minutes; ovens vary. Burnt top? Rookie move. Set a timer and peek—better safe than sorry.
- Forgetting to let it rest post-bake. Dive in too soon, and it’s lava-hot soup. Give it 10 minutes to set up, or risk burning your mouth and your ego.
- Skimping on the toppings. This recipe screams for ice cream and caramel. Don’t half-ass it; go full indulgence or go home.
Alternatives & Substitutions
Life happens—missing an ingredient? No stress, I’ve got swaps that keep things delicious. These are my go-to hacks, tested in my own chaotic kitchen.
- Apples: Not a Granny Smith fan? Swap in Honeycrisp for sweeter vibes or Fuji for firmness. Just avoid Red Delicious—they turn to mush faster than you can say “oops.”
- Gluten-free? Use a 1:1 gluten-free flour blend and certified GF oats. Tastes just as good, promise. I’ve done it for friends with sensitivities, and no one noticed.
- Vegan twist: Sub plant-based butter and use coconut or almond milk ice cream. For the caramel, swap half-and-half with full-fat coconut milk—creamy and tropical flair.
- No oats? Double the flour or toss in crushed nuts like pecans for crunch. It’s not traditional, but hey, innovation tastes yummy.
- Spice it up: Add nutmeg or ginger to the cinnamon mix for a warmer kick. IMO, a dash of cardamom makes it feel gourmet without extra effort.
Feel free to tweak—recipes are guidelines, not rules. Just don’t blame me if your version becomes the new family fave.
FAQ (Frequently Asked Questions)
Got questions? I’ve got casual, no-BS answers. Let’s chat it out.
Can I make this ahead of time?
Totally! Assemble the crisp up to a day ahead, cover, and fridge it. Bake fresh for that warm-from-oven magic. Reheat leftovers at 300°F for 15 minutes—crisp revives like a charm.
What if I don’t have lemon juice?
No worries—vinegar works in a pinch, or skip it if your apples are fresh. But really, why risk browned fruit? Raid the neighbor’s lemon tree if you must.
Is store-bought caramel okay?
Heck yeah, if you’re short on time. Warm it up for that drizzle effect. But homemade? Game-changer. It’s like comparing fast food to grandma’s cooking—both work, but one warms your soul.
Can I add nuts to the topping?
Absolutely, throw in 1/2 cup chopped pecans or walnuts for extra crunch. Toast ’em first for bonus flavor. Who doesn’t love a nutty surprise?
How do I store leftovers?
If there are any (big if), cover and fridge for up to 3 days. Microwave portions or reheat in the oven to crisp it back up. Freezes well too—portion it out for future cravings.
What about dietary tweaks for low sugar?
Cut the sugar in half for the filling and topping—apples are sweet enough. Use a sugar sub like monk fruit if you’re watching carbs. Still delish, just less guilt.
Can I use margarine instead of butter?
Technically yes, but why punish yourself? Butter brings the flavor party. If you must, go for it—but don’t say I didn’t warn you about the meh results.
Final Thoughts
Whew, we made it! Now you’ve got this killer apple crisp recipe in your back pocket, ready to wow friends, family, or just your cozy solo night in. It’s simple, fun, and packs that emotional punch of fall nostalgia without the hassle. Go ahead, bake it up and pat yourself on the back—you’re basically a dessert pro now. If it turns out amazing (which it will), drop a mental high-five my way. Happy munching, friend! You’ve earned that extra scoop.
Printable Recipe Card
Want just the essential recipe details without scrolling through the article? Get our printable recipe card with just the ingredients and instructions.