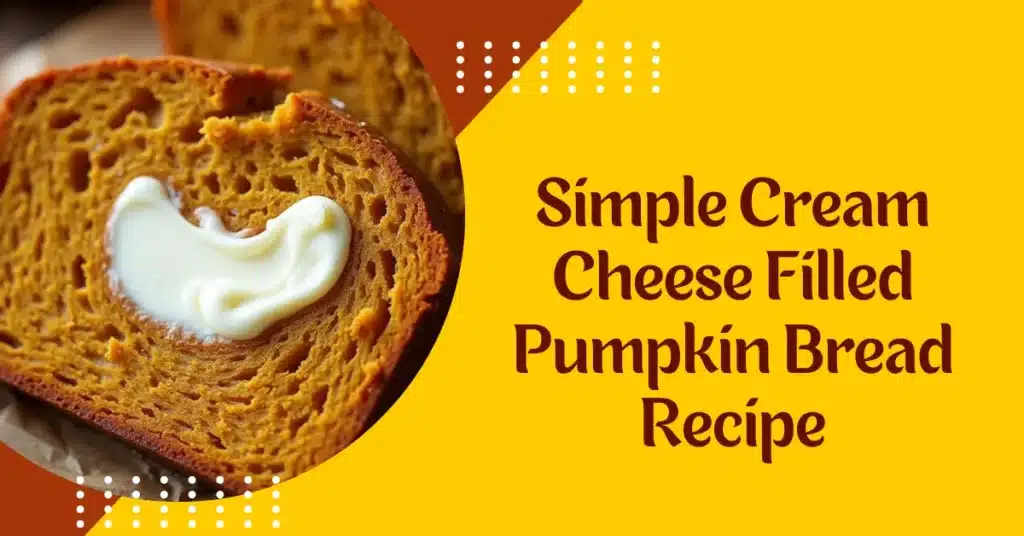
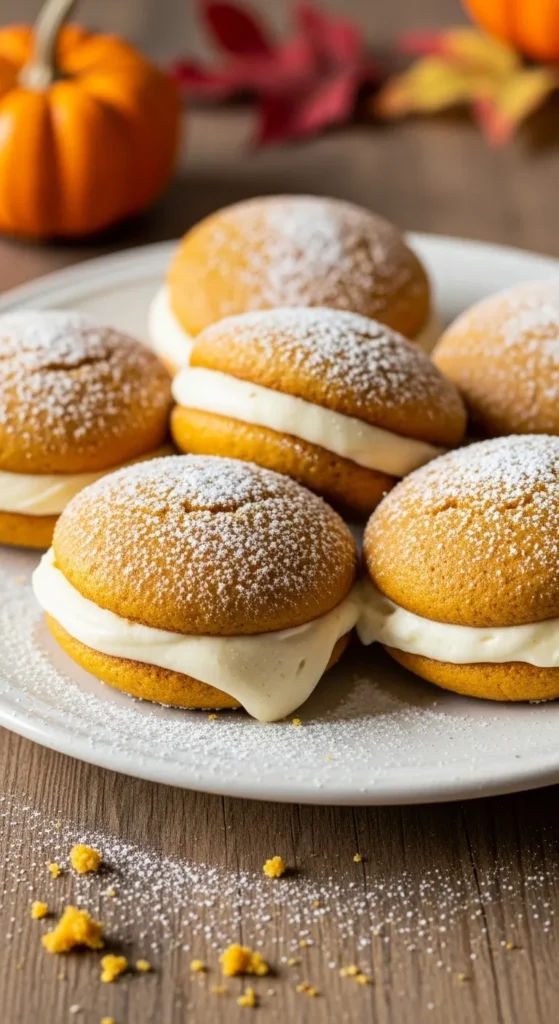
So, you want dessert that’s cozy, cute, and makes people think you spent hours in the kitchen (but, spoiler alert: you didn’t)? Enter Pumpkin Whoopie Pies — soft, spiced, sandwich-style cookies stuffed with dreamy cream filling. Basically, they’re like the love child of a pumpkin cupcake and a cookie… and they’re dangerously addictive.
Why This Recipe is Awesome
First off — these things are idiot-proof. Seriously. If you can stir and use a baking sheet, you’re golden. The batter is forgiving, the filling is foolproof, and even if they turn out a little lopsided (because, same), they’ll still taste amazing.
Here’s the real magic:
- They’re moist, fluffy, and full of fall flavor.
- The cream filling is so good you’ll want to eat it straight from the bowl (I totally did).
- They make you look like a pro baker with minimal effort.
- They store beautifully — assuming you don’t eat them all first.
Basically, these whoopie pies are what cozy autumn dreams are made of. 🍂
Ingredients You’ll Need
Alright, let’s get our act together. Here’s the rundown:
For the Pumpkin Cookies:
- 1 cup canned pumpkin puree – not pumpkin pie mix (we’re baking, not cheating).
- 1 cup brown sugar – for that deep, caramelly sweetness.
- ½ cup vegetable oil – keeps ‘em soft and moist.
- 2 large eggs – the glue that holds your dessert life together.
- 2 cups all-purpose flour – regular ol’ flour does the trick.
- 1 tsp baking powder
- 1 tsp baking soda
- 1 tbsp pumpkin pie spice – because flavor is life.
- ½ tsp salt – balance, my friend.
For the Creamy Filling:
- ½ cup unsalted butter, softened
- 4 oz cream cheese, softened – yes, you need both. Trust me.
- 1 ½ cups powdered sugar – no lumps, please.
- 1 tsp vanilla extract – for that bakery-level aroma.
Step-by-Step Instructions
Alright, aprons on. Let’s make some edible happiness.
- Preheat your oven to 350°F (175°C). Yes, do this first. Don’t wait until the batter’s ready like I always forget to.
- Line your baking sheets with parchment paper. Because scrubbing sticky pumpkin residue isn’t fun.
- Mix the wet stuff. In a big bowl, whisk together the pumpkin puree, brown sugar, oil, and eggs until smooth. You should have a thick, golden-orange batter that already smells like fall.
- Add the dry ingredients. In another bowl, combine flour, baking powder, baking soda, pumpkin pie spice, and salt. Gradually add this to your wet mix. Stir until you have a smooth, dreamy batter.
- Scoop it out. Drop rounded spoonfuls (about 2 tbsp each) onto your baking sheets, spacing them 2 inches apart. Pro tip: use a cookie scoop if you want them even and professional-looking.
- Bake for 10–12 minutes. They should spring back when lightly touched. Don’t overbake — dry whoopie pies are a tragedy.
- Cool completely. Yes, completely. Patience is key unless you enjoy watching your filling melt into oblivion.
- Make the filling. Beat together butter, cream cheese, powdered sugar, and vanilla until fluffy and irresistible. Try not to “taste test” too much… or do, I’m not your mom.
- Assemble! Spread or pipe the filling on the flat side of one cookie, then sandwich another on top. Voilà — pumpkin whoopie magic.
Common Mistakes to Avoid
- Skipping the parchment paper: You’ll end up scraping cookie guts off your tray. Don’t do that to yourself.
- Overmixing the batter: This isn’t CrossFit — gentle mixing is enough.
- Not cooling the cookies: Warm cookies + frosting = melty disaster.
- Using pumpkin pie filling: It’s loaded with sugar and spices already, and it’ll mess with the flavor balance. Just no.
Alternatives & Substitutions
- No pumpkin pie spice? Use a mix of cinnamon, nutmeg, ginger, and a pinch of cloves. Boom. DIY fall flavor.
- Cream cheese hater? (Weird flex, but okay.) Use all butter instead for a pure buttercream filling.
- Gluten-free? Swap in your favorite 1:1 gluten-free flour. The texture might be slightly softer, but still delish.
- Wanna go fancy? Add a drizzle of caramel or roll the edges in chopped pecans. Your friends will think you own a bakery.
FAQs
Can I make these ahead of time?
Yep! Store them in an airtight container in the fridge for up to 3 days. They’re even better the next day when the flavors mingle.
Can I freeze Pumpkin Whoopie Pies?
Totally. Freeze individually (wrapped in plastic) for up to 2 months. Just thaw in the fridge before devouring.
Can I use fresh pumpkin instead of canned?
Sure, but only if you enjoy extra dishes and extra work. Roast and puree your pumpkin first — make sure it’s not watery.
My cookies spread too much! What happened?
Probably too much liquid or not enough flour. Or your batter was warm. Chill it for 10–15 minutes next time.
Can I use margarine instead of butter?
Technically yes… but why hurt your soul like that? Use real butter, live a little.
Do I need a mixer for the filling?
Nope, but it helps. You can do it by hand — consider it your arm workout for the day.
How do I make them extra pretty?
Use a piping bag for the filling and chill the assembled pies for 20 minutes. They’ll look bakery-perfect (and taste like fall heaven).
Final Thoughts
So there you have it — Pumpkin Whoopie Pies with Creamy Filling that are cozy, sweet, and just the right amount of fancy without actually being hard. They’re the kind of dessert that’ll make people say, “Wow, you made these?” and you’ll just smile and nod like a baking legend.
Printable Recipe Card
Want just the essential recipe details without scrolling through the article? Get our printable recipe card with just the ingredients and instructions.