So you’re craving something tasty but too lazy to spend forever in the kitchen, huh? Same. 🙂
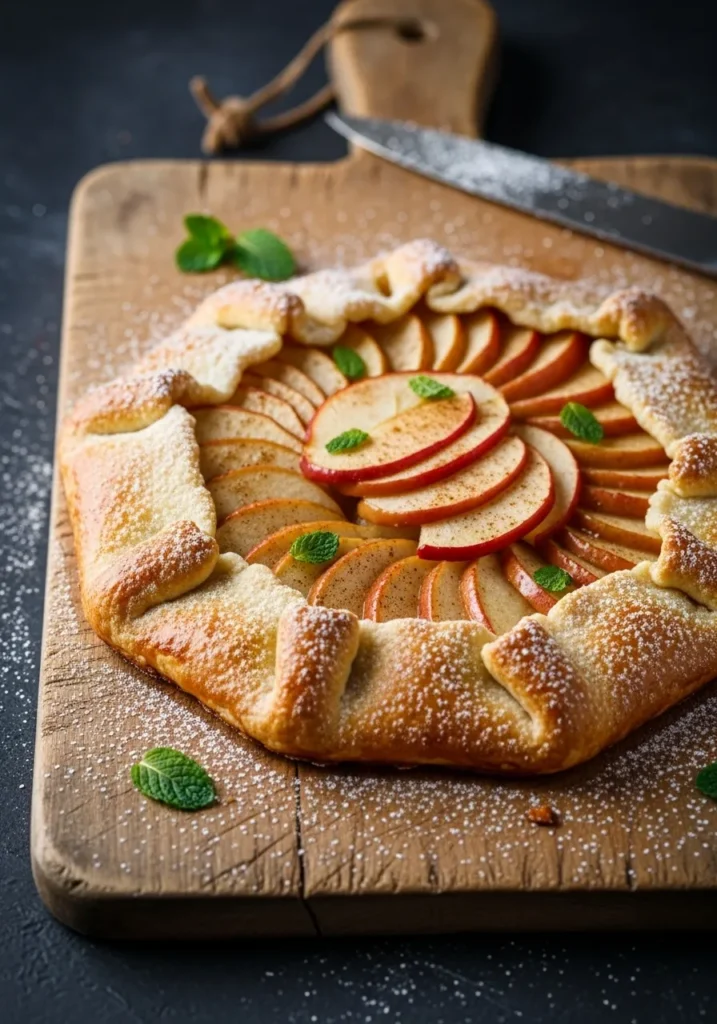
Let’s get real: sometimes you want dessert that screams “homemade” but doesn’t require a PhD in baking. Enter the apple galette—rustic, flaky, and surprisingly easy to pull off. It’s basically the rebellious cousin of apple pie who doesn’t bother with fancy crusts but still tastes like a dream.
Why This Recipe is Awesome
Look, this apple galette is idiot-proof—even if baking isn’t your jam, you won’t mess this up. The flaky, buttery crust folds over tender, cinnamon-kissed apple slices in a glorious, laid-back fashion that looks fancy but takes zero fuss. Plus, no pie tins, no rolling pin anxiety, and minimal cleanup? Yes, please. It’s basically a win-win for your taste buds and your couch time.
Ingredients You’ll Need for Apple Galette
Here’s what you’ll throw together to get this party started:
- 1 ½ cups all-purpose flour (because structure, duh)
- 2 tablespoons granulated sugar (a little sweet magic)
- ½ teaspoon salt (balance, baby)
- ½ cup cold unsalted butter, cubed (the secret to flaky crust)
- 4 tablespoons ice water (stay frosty)
- 2 to 3 large baking apples (think firm — Granny Smith, Honeycrisp, or your fave)
- 1 tablespoon lemon juice (for that zing and to keep apples from browning)
- ¼ cup granulated sugar (because, dessert)
- ½ teaspoon cinnamon (spice it up)
- 2 tablespoons melted butter (to drizzle and glam the filling)
- 1 beaten egg (for that golden crust glow)
- Coarse sugar (for sparkle and crunch)
Step-by-Step Instructions
- In a food processor or mixing bowl, whisk or pulse together the flour, sugar, and salt. Add the cubed cold butter and pulse or mix until the butter pieces are about nickel-sized.
- Drizzle in the ice water (slowly!), then pulse/mix just until the dough forms clumps. Don’t overthink it; stop as soon as it holds.
- Dump the dough onto a floured surface, knead just a few times to bring it together, then shape it into a disk. Wrap it up tight in plastic wrap and chill for at least 2 hours (or up to 3 days if you want to be fancy).
- Preheat your oven to 400°F (because hot things make yummy stuff).
- Peel, core, and slice your apples thinly—about ⅛ inch thick. Toss them in a big bowl with lemon juice, sugar, and cinnamon. Let those flavors mingle.
- Roll out the chilled dough into a rough 12-inch circle on a lightly floured surface. Transfer it carefully onto a parchment-lined baking sheet.
- Pile the apple mixture in the center of your dough, leaving a 3-inch border around the edges.
- Drizzle melted butter over the apples (because butter makes everything better).
- Fold the edges of the dough up and over the apples, letting it be as rustic and imperfect as you want—no stress here.
- Brush the dough with the beaten egg and sprinkle coarse sugar on top for that chef’s kiss sparkle.
- Bake for about 45 minutes until your crust is golden and your apples are bubbly and sending warm smells all over your kitchen.
- Let it cool for 30 minutes (try not to eat it all warm—it’ll cut better).
Common Mistakes to Avoid
- Skipping the chill time—rookie mistake! Your dough needs to chill or it’ll be sad and tough.
- Overworking the dough—less is more, seriously. Keep it light and flaky.
- Slicing apples too thick or too thin—thick = undercooked center, thin = mushy mess.
- Not preheating the oven—this is how you get a soggy crust. Hot oven, happy crust.
- Fussing over perfect folds—this is rustic, not pastry school. Embrace the imperfection.
Alternatives & Substitutions
- No butter? Use cold coconut oil for a dairy-free twist, but the flavor is a bit different (and yes, still delicious).
- Don’t have baking apples? Any firm apple will do—Fuji, Braeburn, or even Pink Lady can hang.
- No food processor? No worries, just use a pastry cutter or your fingers for pulsing the butter into flour—dirty hands add character.
- Want a little extra flair? Add a tablespoon of nutmeg or a splash of vanilla extract to the apple mixture for that cozy vibe.
- For a vegan version, swap the egg wash for almond milk or maple syrup glaze.
FAQs about Apple Galette
Can I use margarine instead of butter?
Well, technically yes, but why hurt your soul like that? Butter’s flavor and texture are unbeatable here.
Do I need a food processor?
Nah, but it’s handy. You can totally do this by hand with a fork or pastry cutter; just embrace the rustic style.
Can I make this ahead?
Absolutely. Chill the dough for up to 3 days, or even freeze it. Assemble and bake whenever hunger strikes.
What kind of apples are best?
Firm ones that hold shape—Granny Smith, Honeycrisp, or Braeburn are all winners.
Can I add other fruits?
Sure thing! Pears, peaches, or berries can jazz it up, but apples are classic for a reason.
How do I store leftovers?
Cover and keep in the fridge for a couple of days. Pro tip: warm them up for that fresh-baked feeling.
Do I have to peel the apples?
If you’re into rustic baking, leave the peel on. Otherwise, peeling gives a smoother bite.
Related Recipes
- No-Bake Lemon Cheesecake Bars Recipe
- Nutella Stuffed Mug Cake Recipe
- Chocolate Cream Cheese Frosting
Final Thoughts about Apple Galette
There you have it, a ridiculously easy yet insanely delicious apple galette recipe that’s perfect for cozy nights, impressive guests, or just treating yourself. It’s like a warm hug in dessert form, without the stress of a full-blown pie. Now go impress someone—or yourself—with your new culinary skills. You’ve earned it!
Printable Recipe Card
Want just the essential recipe details without scrolling through the article? Get our printable recipe card with just the ingredients and instructions.

