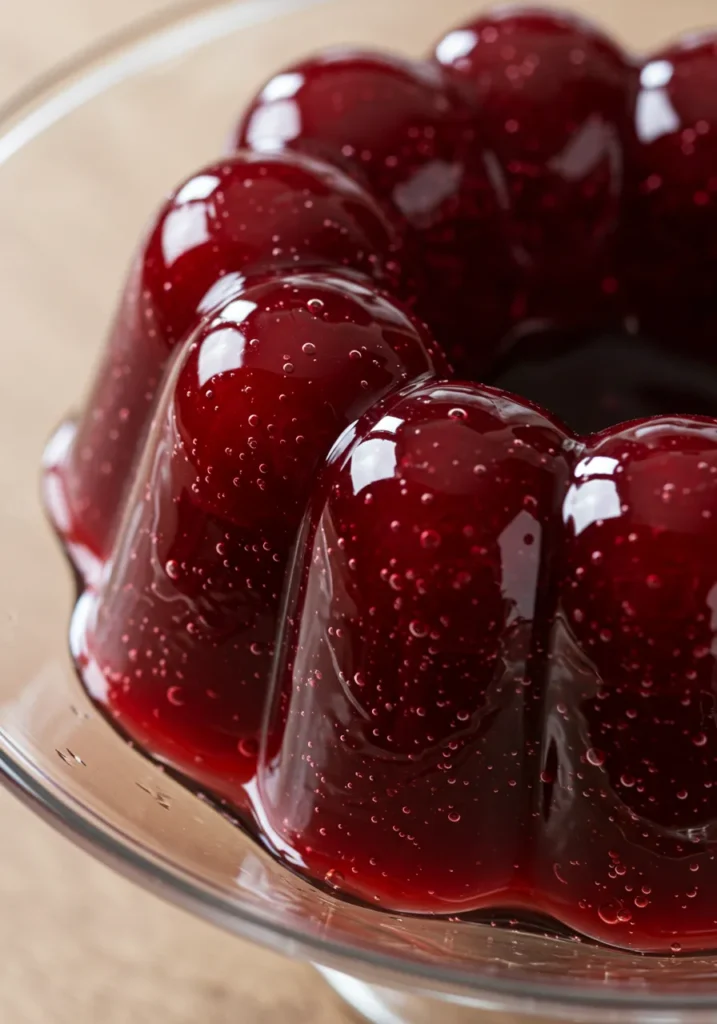
Okay, confession time: I used to think jelly-making was some mystical skill reserved for grandmas with magical spoons and endless patience. Spoiler alert—it’s not. If you can stir a pot and resist eating all the cherries before they hit the pan, you’re already halfway there. This cherry jelly recipe is fruity, sweet, and stupidly easy. And the best part? You’ll end up with jars of ruby-red goodness that make store-bought jelly look like sad cafeteria jam.
Why This Recipe is Awesome
- First off, it’s idiot-proof. If I didn’t burn my kitchen down while making this, you won’t either.
- It tastes like cherries on vacation. Sweet, tart, and fresh—way better than that overly sugary stuff in plastic cups.
- You don’t need fancy chef equipment. A pot, a strainer, and some jars—done.
- Bonus flex: homemade jelly makes you look like someone who has their life together (even if you totally don’t).
Ingredients You’ll Need for Cherry Jelly
Grab these goodies and you’re golden:
- Fresh cherries – About 4 cups, pitted (yes, it’s a little work, but think of it as arm day).
- Sugar – 3 cups. Don’t panic. Jelly is supposed to be sweet.
- Lemon juice – 2 tablespoons, because cherries need a little zingy bestie.
- Pectin – 1 packet (sure, you could skip it, but then you’ll end up with cherry soup).
- Water – 1 cup. Simple but mighty.
Step-by-Step Instructions
- Pit the cherries.
Yes, it’s tedious. Yes, it’s worth it. Pop on some music and pretend you’re in a rom-com montage. - Cook the cherries.
Toss them in a pot with water. Simmer until they’re soft and releasing juice. Basically, they should look like they went through a breakup. - Strain the juice.
Use a fine sieve or cheesecloth. Don’t rush this step—let gravity do its thing. You want juice, not cherry mush. - Measure the liquid.
You’ll need about 3 cups of cherry juice. Short? Add a splash of water. Long? Congrats, you’re extra. - Bring the juice to a boil.
Add lemon juice and pectin. Stir like you mean it. - Add the sugar.
Once boiling, dump in the sugar and stir until dissolved. Warning: this step smells like heaven. - Boil hard for 1 minute.
Not soft, not “kinda boiling”—like a rolling, bubbling, volcano situation. - Test the set.
Drop a little jelly on a cold spoon. If it wrinkles when you poke it, you nailed it. - Jar it up.
Pour into sterilized jars, seal tight, and let cool. Boom—jelly royalty.
Common Mistakes to Avoid
- Skipping the pitting. Don’t be lazy—you don’t want cherry pits messing with your teeth.
- Under-boiling. If you chicken out on the boil, you’ll end up with syrup. Not a tragedy, but not jelly either.
- Adding less sugar. Don’t try to diet here. Sugar is the glue (literally) that makes jelly jelly.
- Forgetting to sterilize jars. Unless you’re into surprise science experiments, clean those jars properly.
Alternatives & Substitutions
- No pectin? Use green apples—they’re naturally high in pectin. Just simmer them with the cherries and strain.
- Too much sugar? Swap a cup with honey. It’ll taste slightly different, but still delicious.
- Different fruit? Heck yes. Try mixing cherries with raspberries or strawberries for a flavor bomb.
- Want it boozy? A splash of kirsch or brandy turns this jelly into “grown-up cherry magic.”
FAQs about Cherry Jelly
Can I use frozen cherries?
Yep! Just thaw them first. Bonus: no cherry-stained fingers.
Do I really need pectin?
Technically no, but without it, your jelly will be more of a runny sauce. Great for pancakes, less great for PB&J.
How long does it last?
Unopened jars can chill for up to a year in your pantry. Once opened, keep it in the fridge and finish within a month (if it even lasts that long).
Can I cut down on the sugar?
You can, but the texture might suffer. Think of sugar as jelly’s personal trainer—it keeps everything in shape.
Do I need a canner?
Nah. If you’re making a small batch to eat soon, sterilized jars + fridge are fine. For long-term storage, yeah, a canner is the safe bet.
What do I eat this with?
Toast, obviously. But also swirl into yogurt, glaze meats, or eat it straight off the spoon—I won’t judge.
Related Recipes
Final Thoughts about Cherry Jelly
And there you have it—homemade cherry jelly that’s as easy as it is impressive. Honestly, the hardest part is not just eating it straight out of the pot (been there, done that). Now go spread that ruby-red magic on toast, biscuits, or your finger if you can’t wait. Trust me, you’ll never look at store-bought jelly the same way again.
So, what are you waiting for? Grab some cherries, channel your inner jelly wizard, and get cooking. Your taste buds (and maybe your Instagram followers) will thank you.
Printable Recipe Card
Want just the essential recipe details without scrolling through the article? Get our printable recipe card with just the ingredients and instructions.


