Hey, have you ever bitten into a slice of Classic Vanilla Custard Pie and thought, “Why don’t I make this more often?” Me too. There’s something so nostalgic and comforting about this smooth, silky dessert that just screams homemade love. Today, I’m gonna spill all the secrets on crafting the perfect custard pie, the kind that Grandma totally nailed back in the day but without making you sweat buckets in the kitchen. Sound good? Let’s jump in!
What Makes Classic Vanilla Custard Pie So Irresistible?
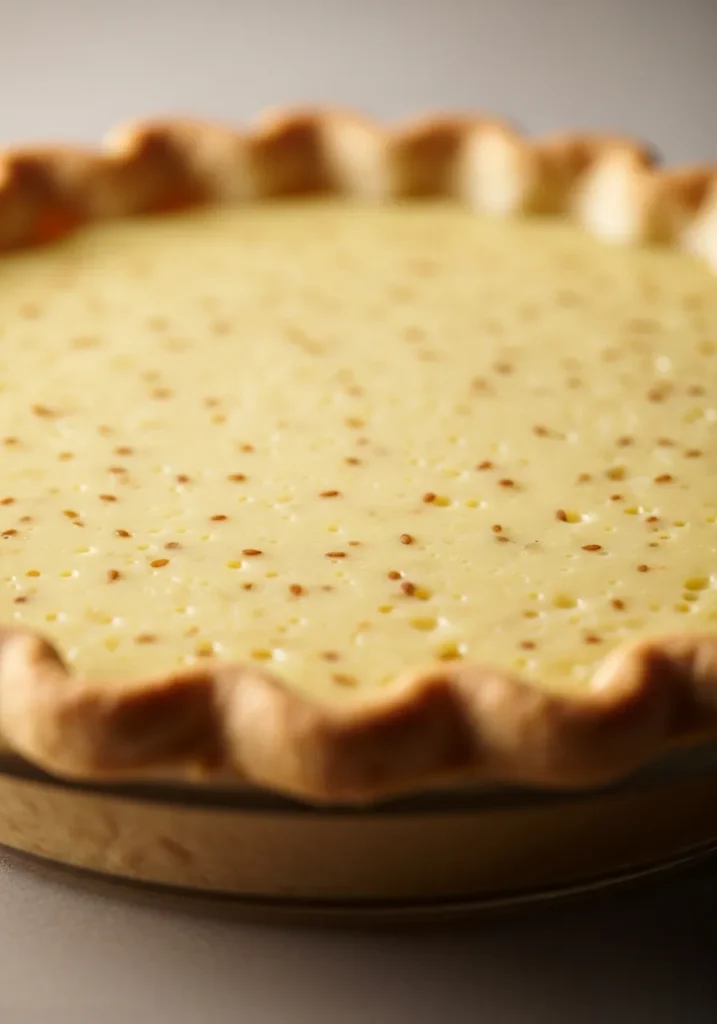
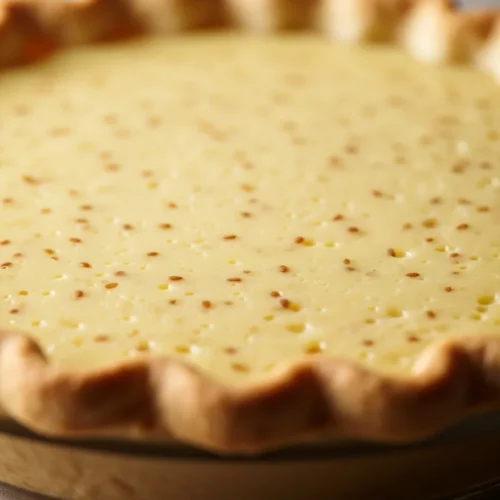
Have you noticed how some desserts are fussy, like they require a PhD in Baking? Well, custard pie is absolutely not one of those. In fact, this recipe is downright simple yet so satisfying. You get a beautifully creamy vanilla custard filling nestled in a flaky crust, with just the right sprinkle of nutmeg to whisper cozy vibes.
Why Do We Love It?
- It’s comfort food in pie form. Like a warm hug that’s actually edible.
- The custard is silky smooth, not eggy or rubbery. Nobody wants a rubbery custard, am I right?
- The recipe uses basic pantry staples—eggs, milk, sugar, vanilla—and voila, you’ve got magic.
- It’s versatile. You can dress it up with fresh berries or whip cream, or keep it plain and old-fashioned.
Honestly, I don’t think there’s a dessert out there that hits that sweet spot of easy, impressive, and delightful quite like this.
Let’s Talk Ingredients: What You Need and Why
Before we start, let’s get crystal clear on the key players in your custard pie:
| Ingredient | Role in the Pie | My Favorites/Notes |
| Eggs | Structure and creaminess | Use fresh eggs for best taste/texture |
| Milk & Cream | Liquid base to make custard rich | A combo of whole milk + heavy cream works wonders |
| Sugar | Sweetens the custard | Granulated sugar, straightforward and effective |
| Vanilla | Aroma and flavor | Real vanilla bean or good quality vanilla extract |
| Nutmeg | Subtle spice, classic touch | Freshly grated is the way to go |
| Pie crust | Flavorful, flaky base | Homemade or store-bought (but homemade wins hands down) |
One thing I swear by is scalding the milk before mixing it with the eggs—it helps the custard develop that luscious, velvety texture without any weird lumps. Ever skipped this step and ended up with uneven custard? Yeah, me too, lesson learned!
The Crust: Your Pie’s Trusty Sidekick
Now, don’t underestimate the crust here. It’s not just a holder for your custard; the crust adds a buttery crunch that balances the creamy filling perfectly.
Crust Options: Butter Pastry or Graham Cracker?
- Butter pastry crust: Classic, flaky, and buttery. This is the go-to crust for most traditionalists.
- Graham cracker crust: A bit sweeter and more crumbly. My daughter swears by this one—she sneakily devours the crust even before the pie’s done. FYI, if you’re into that slightly crunchy, sweeter vibe, give it a whirl!
Either way, blind baking (pre-baking) your crust before adding the filling is a must. It keeps the crust crisp so you don’t end up with the soggy mess nobody wants. Plus, brushing the crust with an egg white before baking can stop the custard from seeping in and making things mushy. Pro tip from Grandma!
Step-By-Step to the Perfect Vanilla Custard Filling
Here’s where the magic happens. When I first made custard pie, I totally overcooked the custard, ending up with a firm, weirdly grainy texture. Not fun. But here’s my tried-and-true method that makes the custard perfectly creamy and silky every time:
1. Scald the Milk & Cream
Heat your milk and cream together on medium-low until you see steam and tiny bubbles—don’t let it boil! This scalding step helps dissolve sugar and infuses the vanilla beautifully. Bonus: it kills any unpleasant raw milk flavor.
2. Mix Eggs and Sugar Gently
Whisk together eggs, egg yolk, sugar, and a pinch of salt just enough to combine. Don’t whip air in, or you’ll end up with bubbles in your custard. Nobody wants that spongey stuff masquerading as pie.
3. Temper Your Eggs
Slowly drizzle some of the hot milk into the egg mixture while whisking constantly. This step is crucial to prevent scrambled eggs in your pie… unless you’re into that kind of thing (I’m not). Once combined, pour everything back into the saucepan.
4. Cook Until Just Thickened
Over medium-low heat, stir constantly until your custard thickens slightly—think pudding consistency. It should coat the back of a spoon but still jiggle just a bit. Don’t rush it; overheating means curdling.
5. Add Butter and Vanilla
Stir in a touch of butter for richness and vanilla extract (or scrape in seeds from a vanilla bean if you want to feel fancy). Trust me, vanilla bean paste or seeds make a huge flavor difference if you have them.
6. Cool and Chill
Let the custard cool almost to room temperature—stir occasionally to prevent a skin from forming—then pour it into your crust. Refrigerate for at least 3–4 hours to set. Patience, my friend, is a virtue here!
Fun Variations to Put Your Spin on Classic Vanilla Custard Pie
Are you a straight-shooter who loves the purity of vanilla, or do you like to jazz up your desserts? The good news: custard pie is a total chameleon.
- Fresh berries on top: I’m obsessed with fresh raspberries or blueberries on mine—adds a tart pop against the sweet custard. Bonus points if you share or it might mysteriously disappear (looking at you, kids).
- Nutmeg vs cinnamon: Classic is nutmeg, but a sprinkle of cinnamon swaps gives a warm twist.
- Chocolate custard: Yes, it’s a thing. Add melted dark chocolate to the custard mix for a rich, adult-friendly version.
- Whipped cream cloud: A generous dollop of lightly sweetened whipped cream takes it from humble to restaurant-quality in seconds.
Ever thought you could be creative with this humble pie? You totally can. IMO, custard pie is the perfect canvas for your dessert artistry.
Troubleshooting: Custard Pie Issues and Easy Fixes
Let’s be real: not every pie will come out perfect on the first try. If you run into trouble, here’s what might’ve gone wrong:
| Problem | Cause | Fix |
| Runny custard | Underbaked or missing eggs | Bake longer at lower temp, add an egg |
| Curdled/scrambled custard | Tempering eggs too fast or high heat | Temper slowly, cook gently |
| Soggy crust | No blind baking or no egg wash | Blind bake crust, brush edges w/ egg |
| Cracks in custard | Overbaked or too rapid cooling | Don’t overbake, cool gradually |
Remember, baking is an art and science combo. Sometimes, you just gotta learn from your trials — and eat the mistakes (no shame!). 🙂
FAQs About Custard Powder and Custard
1. Can I use water instead of milk to make custard with custard powder?
Technically yes, but it’s not recommended. Milk provides richness, flavor, and creaminess. Water will result in a thinner, bland custard.
2. Is custard powder vegetarian or vegan?
Most commercial custard powders (like Bird’s) are vegetarian and even vegan, as they don’t contain eggs. But always check the label for added dairy or animal-derived ingredients.
3. Can I use custard powder in baking recipes?
Yes! Custard powder can be used in cakes, cookies, puddings, and even frostings to add color, flavor, and creaminess. It also acts as a stabilizer.
4. Why is my custard lumpy or curdled?
This happens when the custard is cooked too fast or at too high a temperature. Always use medium heat and stir constantly. Strain it through a sieve if it turns lumpy.
5. Can I reheat custard made with custard powder?
Yes. Reheat it gently over low heat while stirring. Avoid boiling to prevent it from splitting. You can also reheat in the microwave in 30-second intervals, stirring each time.
6. How long can I store custard in the fridge?
Custard made with custard powder can be stored in an airtight container in the refrigerator for up to 3 days. Stir well before using as it may thicken further when cold.
Related Recipes:
Final Thoughts
Okay, I know life’s busy and baking can be intimidating. But trust me, this pie rewards your effort with huge flavor payoffs without requiring wizard-level skills. You’ll wow your family or guests with just a few simple ingredients and some love.
It’s a dessert that connects you to tradition and feels like a little celebration of home every time you slice into it. Plus, the leftovers (if any!) are absolute gold for breakfast or late-night snacks. No judgment 😉
Ready to put on your apron and make that custard magic happen? Your taste buds will thank you, and your kitchen will smell like pure vanilla heaven
Classic Vanilla Custard Pie Recipe
Ingredients
- 1 unbaked 9-inch pie crust pre-baked
- 3 large eggs
- 2 large egg yolks
- 1 cup whole milk
- 1 cup heavy cream
- ¾ cup granulated sugar
- 2 tablespoons all-purpose flour
- 1 teaspoon vanilla extract or 1 vanilla bean pod seeds scraped
- ¼ teaspoon salt
- Freshly grated nutmeg for topping
- 1 tablespoon unsalted butter optional, for extra richness
Instructions
- Preheat oven to 325°F (163°C).
- Blind bake the pie crust until lightly golden and set aside.
- In a bowl, whisk together eggs, egg yolks, sugar, flour, and salt until smooth.
- Warm milk and cream with vanilla (or vanilla bean pod and seeds) until just scalded (steam and small bubbles). Remove pod if used.
- Gradually whisk hot milk mixture into egg mixture to temper eggs.
- Strain custard mixture through a fine-mesh sieve into a clean bowl.
- Pour custard into the pre-baked pie crust.
- Grate nutmeg over the top and dot with butter if using.
- Bake on the middle rack for 40-45 minutes until custard is mostly set but center slightly wobbly.
- Cool completely on a wire rack, then chill in refrigerator at least 3 hours before serving.
Notes
DID YOU MAKE THIS EASY RECIPE?
If you have, then share it with us by sending a photo. We’re excited to see what you’ve made:.
Printable Recipe Card
Want just the essential recipe details without scrolling through the article? Get our printable recipe card with just the ingredients and instructions.

