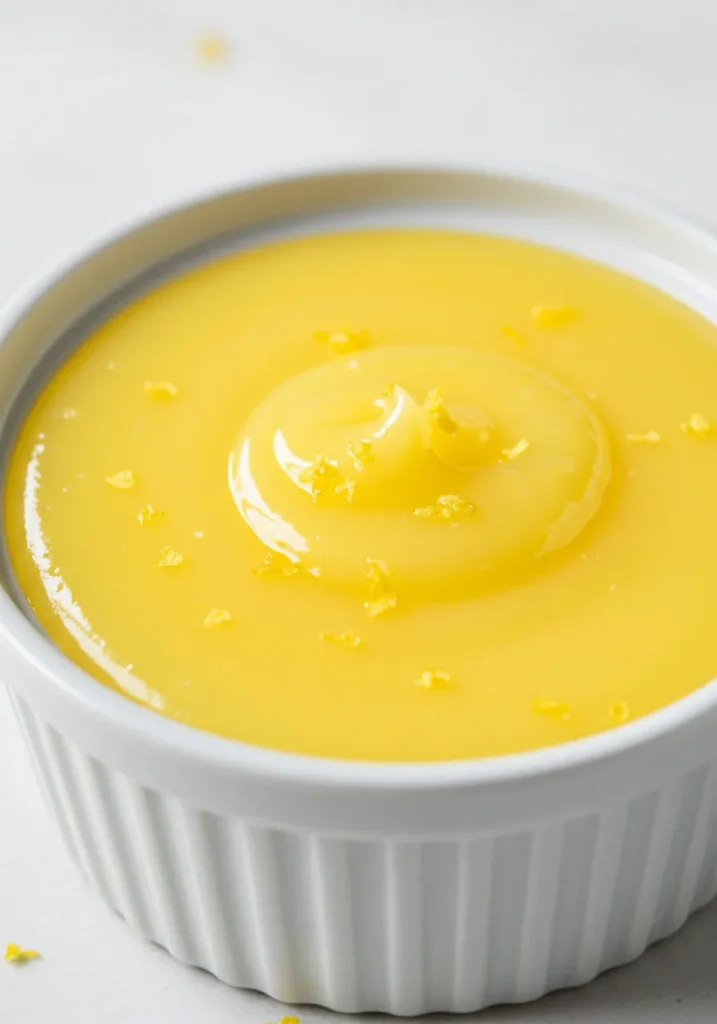
You know that feeling when you spread something on toast, take a bite, and think, “Why am I not eating this by the spoonful instead?” Yeah… that’s lemon curd for you.
I’ve been making lemon curd since the day I realized store-bought versions taste like sadness compared to homemade. It’s silky, zingy, and so ridiculously easy, you’ll wonder why you ever settled for the jarred stuff in the grocery aisle. So grab your lemons, my friend — we’re about to whip up some tangy sunshine together!
Why Make Lemon Curd at Home?
Let me guess — you’ve bought it before and thought, “Eh, not bad”, right? But here’s the thing: homemade lemon curd is on a whole different level.
- You control the sweetness (because not everyone wants their lemon curd to taste like candy).
- The texture? Creamier. More luscious. Like a buttery hug for your taste buds.
- You can brag to your friends: “Oh, this? Just some lemon curd I whipped up.” Bonus points if you say it casually while sipping tea.
Plus, it’s surprisingly simple. No weird techniques, no fancy gadgets. Just you, some lemons, a saucepan, and a whisk. Ready?
What You’ll Need for Easy Lemon Curd
Before you start, make sure you’ve got everything. Because nothing kills the mood faster than realizing halfway through you’re out of butter. (Been there. Not fun.)
Here’s your shopping list:
- 4 large egg yolks (save the whites for meringues or omelets. Or just feed them to your dog if you’re feeling generous.)
- 2 whole large eggs
- 1 cup (200g) granulated sugar
- 2/3 cup (160ml) fresh lemon juice (about 4–5 lemons)
- 2 tablespoons finely grated lemon zest
- 1/2 cup (115g) unsalted butter, cut into cubes
- A pinch of salt (trust me, it matters.)
That’s it. You probably already have most of this lying around. See? No excuse now.
Step-by-Step: How to Make Lemon Curd Like a Pro
Okay, let’s break this down. It’s not rocket science, but I’ll walk you through it anyway — because I care.
Step 1: Whisk Those Eggs
Grab a medium heatproof bowl and whisk together the egg yolks, whole eggs, and sugar. You want it smooth and pale, with no rogue streaks of egg whites lurking around.
Step 2: Add Lemon & Zest
Stir in the lemon juice and zest. Yes, it looks weird and curdled at this stage. No, you didn’t mess up. Keep going.
Step 3: Heat It Gently
Pour the mixture into a medium saucepan and set it over low to medium heat. Stir constantly with a rubber spatula or wooden spoon (not a whisk, or you’ll foam it up like a latte).
Keep stirring — don’t even think about walking away to check your phone — until it thickens and coats the back of your spoon. This usually takes about 10 minutes.
Pro tip: if you see scrambled eggs forming, your heat is too high. Don’t panic. Just take it off the heat, whisk like crazy, and lower the temp when you go back.
Step 4: Butter Time
Once it’s thick, remove it from the heat and stir in the butter cubes one at a time. Watch as it transforms into a silky, glossy dream. Taste it. Yes. That’s the good stuff.
Step 5: Strain & Chill
Optional but highly recommended: strain the curd through a fine mesh sieve to catch any bits of zest or cooked egg. Then pour it into a jar, let it cool, and refrigerate for at least an hour to set.
You did it. You made lemon curd. High five.
How to Use Lemon Curd (Other Than Eating It With a Spoon)
You might be thinking, “Okay, now what?” — which is fair. Lemon curd is versatile AF. Here are some ideas to get you started:
- Slather it on toast, scones, or pancakes.
- Fill cupcakes, tarts, or layer cakes with it.
- Swirl it into yogurt or ice cream (OMG-worthy).
- Spread it between cookies for fancy sandwich vibes.
- Eat it straight from the jar while hiding from your kids. (Not judging.)
Seriously, the possibilities are endless.
Common Mistakes (And How to Avoid Them)
Because nothing kills your lemon-curd joy faster than ending up with lemon-scramble. Here are a few things to watch out for:
🥚 Overheating the Eggs
Keep that heat low and slow, my friend. High heat = scrambled mess.
🍋 Not Straining It
You worked hard — don’t ruin it with chunky bits of zest. Strain it for that chef-level smoothness.
🧈 Skipping the Butter
The butter isn’t optional. It gives the curd its creamy, melt-in-your-mouth texture. Don’t skimp!
Why This Recipe Works
Ever wondered why this method is so foolproof? IMO, it comes down to balance. You’re whisking the eggs with sugar before adding heat, which keeps them from clumping. You’re cooking it low and slow, which prevents curdling. And the butter emulsifies everything into a dreamy custard.
Plus, you don’t need a double boiler — just your trusty saucepan and a bit of attention. (FYI: multitasking while making lemon curd is a terrible idea.
Pro Tips for Next-Level Lemon Curd
Want to really impress? Try these tips:
- Use Meyer lemons for a sweeter, floral flavor.
- Add a splash of vanilla extract at the end for depth.
- If you like it extra tangy, cut back the sugar by 1–2 tablespoons.
- Make a big batch and freeze it — it keeps beautifully for up to 3 months.
Oh, and don’t forget to label your jar unless you want to play “mystery fridge item” later.
FAQs About Lemon Curd
Can I use bottled lemon juice?
Technically, yes. But fresh lemons taste waaay better. Bottled juice tends to be flat and weirdly metallic.
How long does it last?
In the fridge, about 1–2 weeks. In the freezer, up to 3 months. If it smells funky or grows fuzz, toss it.
Is lemon curd the same as lemon pie filling?
Nope. Lemon pie filling usually has cornstarch and is thicker. Lemon curd is richer, silkier, and more concentrated. Basically: pie filling’s cooler, more sophisticated cousin.
Why I’ll Never Go Back to Store-Bought
Here’s the thing — I bought lemon curd once at a fancy grocery store. It was fine. But it tasted… meh. Too sweet, too gelatinous, and kinda artificial.
Then I made my own. And wow. The difference was night and day. Homemade lemon curd tastes fresh, vibrant, and actually like… well, lemons. Go figure.
Now? If someone tries to hand me a jar from the store, I just smile and say, “Thanks, but I make my own.” (And yes, I do feel a little smug about it.)
Related Recipes
Final Thoughts: Time to Get Zesty
If you’ve made it this far, congrats — you’re officially ready to whip up the easiest, most delicious lemon curd of your life.
Whether you’re slathering it on toast, filling a cake, or just eating it with a spoon in your pajamas (we’ve all been there), this recipe is your ticket to tangy happiness.
So go grab those lemons and get whisking. You got this. And hey — if anyone asks, tell them you learned from a pro. 😉
And if you don’t try this recipe soon? Well… don’t come crying to me when you’re stuck with sad, store-bought curd again.
TL;DR: Why You Should Make This Lemon Curd
- Easy: No fancy tools, just you and a saucepan.
- Delicious: Bright, tangy, and creamy.
- Versatile: Toast, cakes, yogurt, straight from the jar… whatever floats your boat.
- Impressive: People will think you’re a culinary genius.
So what are you waiting for? Go make some lemon curd already. Your toast (and your taste buds) will thank you. 🙂
If you try this recipe, drop me a note and let me know how it turned out. And if it fails? Don’t worry — we’ll laugh about it later over a jar of the good stuff.
Happy cooking — and stay zesty!
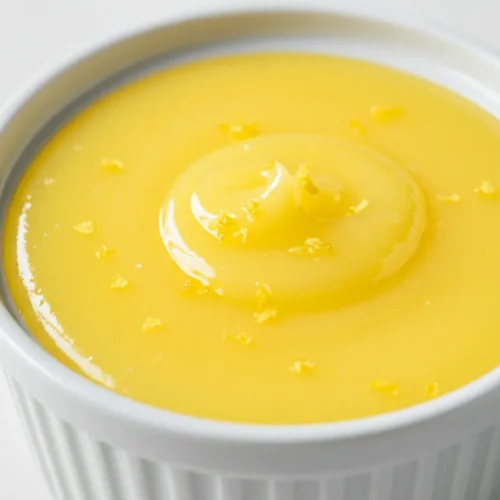
Easy Lemon Curd Recipe
Ingredients
- ½ cup fresh lemon juice
- 1 tbsp lemon zest
- ½ cup granulated sugar
- 2 large eggs
- ½ cup unsalted butter cubed
Instructions
- Whisk lemon juice, zest, sugar, and eggs in a saucepan.
- Add butter cubes and cook over medium heat, stirring constantly.
- Continue until mixture thickens (about 5–7 minutes).
- Strain curd through a fine sieve to remove zest and lumps.
- Pour into a jar and cool before refrigerating.
Notes
- Store in the refrigerator for up to 2 weeks.
- Use as a filling for pies, tarts, or layered cakes.
- Double the recipe if you want to make extra for gifting.
DID YOU MAKE THIS EASY RECIPE?
If you have, then share it with us by sending a photo. We’re excited to see what you’ve made 🙂Printable Recipe Card
Want just the essential recipe details without scrolling through the article? Get our printable recipe card with just the ingredients and instructions.

