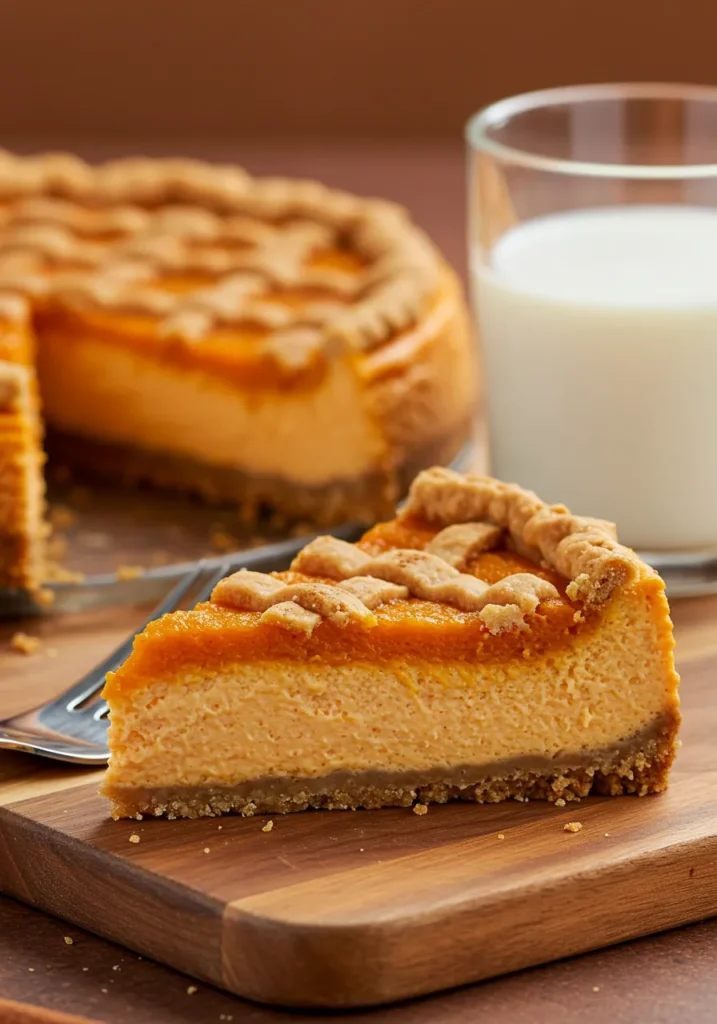
So, you want pumpkin pie and cheesecake, but you’re not about to bake two desserts and wash double the dishes, right? Good news: this Easy Pumpkin Pie Cheesecake is here to save the day (and your sink). Think creamy cheesecake + cozy pumpkin spice vibes all in one perfect slice. Yeah, it’s basically fall in dessert form.
Why This Recipe is Awesome
First of all, it’s idiot-proof—seriously, if I can pull this off without burning the house down, you can too.
Second, it’s a total crowd-pleaser. Cheesecake lovers? Check. Pumpkin pie fans? Double check.
And finally, this bad boy looks way fancier than the effort it takes to make. Perfect for when you want people to think you spent hours in the kitchen (but secretly didn’t).
Ingredients You’ll Need for Easy Pumpkin Pie Cheesecake
Grab these and get ready to impress yourself:
- Graham cracker crumbs – aka the crunchy, buttery base that makes this dessert legit.
- Butter – because life’s too short for dry crusts.
- Cream cheese – full-fat, don’t play yourself with low-fat here.
- Granulated sugar – sweet, sweet happiness.
- Eggs – your cheesecake’s glue.
- Canned pumpkin puree – not pumpkin pie filling, unless you want a flavor overload.
- Pumpkin pie spice – the magical dust that screams “fall.”
- Vanilla extract – for that cozy, bakery smell.
- Whipped cream (optional) – but like, is it really optional?
Step-by-Step Instructions
- Preheat the oven to 325°F (160°C). Yes, you need to preheat. Don’t skip it.
- Make the crust: Mix graham cracker crumbs with melted butter, press into the bottom of a springform pan, and pat yourself on the back.
- Beat the cream cheese and sugar until smooth and dreamy. No lumps allowed.
- Add eggs, one at a time—don’t rush it. You want smooth, not scrambled.
- Mix in pumpkin, spices, and vanilla until combined. This is the part where your kitchen starts smelling like heaven.
- Pour the filling into the crust and smooth it out with a spatula.
- Bake for about 50-55 minutes, until the center is just slightly jiggly.
- Cool completely (I know, waiting is torture) and refrigerate for at least 4 hours or overnight.
- Slice, top with whipped cream, and enjoy your masterpiece.
Common Mistakes to Avoid
- Skipping the preheat. Big no-no. Your cheesecake will suffer.
- Overbaking. Stop when it’s still a little jiggly—resist the urge to keep baking!
- Using pumpkin pie filling instead of puree. Don’t do it unless you want weirdly spiced, overly sweet chaos.
- Not chilling long enough. Patience is key. A warm cheesecake is just… wrong.
Alternatives & Substitutions
- No graham crackers? Try crushed gingersnaps or Oreos for a fun twist.
- No pumpkin pie spice? Mix cinnamon, nutmeg, ginger, and cloves—bam, DIY spice blend.
- Dairy-free? Use vegan cream cheese and coconut whipped cream. Still amazing, still creamy.
- Gluten-free? Swap in gluten-free graham crackers. No one will know the difference.
FAQS about Easy Pumpkin Pie Cheesecake
Can I make this ahead of time?
Absolutely. In fact, you should. Cheesecake gets better after chilling overnight.
Do I really need a springform pan?
Technically no, but it makes your life 10x easier. Otherwise, good luck prying it out of a regular pan.
Can I freeze leftovers?
Yes! Wrap slices individually and freeze. Perfect for future “I deserve dessert” emergencies.
What if I don’t have pumpkin spice?
Mix cinnamon, nutmeg, ginger, and a tiny bit of cloves. Congrats, you’re now a spice alchemist.
Can I make mini cheesecakes?
Heck yes! Just use a muffin tin. Bonus: built-in portion control (if you stop at one).
Why did my cheesecake crack?
You probably overbaked or skipped the cooling process. Don’t stress—it still tastes amazing.
Related Recipes
Final Thoughts about Easy Pumpkin Pie Cheesecake
And there you have it—your Easy Pumpkin Pie Cheesecake is done and ready to steal the spotlight at your next dinner. Seriously, this dessert is like a warm hug for your taste buds. Go grab a fork (or don’t, no judgment if you eat straight from the pan).
Now go impress someone—or yourself—with your new culinary skills. You’ve earned it!
Printable Recipe Card
Want just the essential recipe details without scrolling through the article? Get our printable recipe card with just the ingredients and instructions.

