So, you’re staring into the pantry, craving something sweet, but the thought of a complicated baking project makes you want to nap instead? Same. You want that perfect, crumbly, melt-in-your-mouth cookie that also happens to be gluten-free, and you want it like, now. Well, my friend, stop the scroll. You’ve just hit the jackpot. This isn’t just a recipe; it’s your one-way ticket to peanut butter bliss with minimal effort. Let’s get this party started.
Why This Recipe is Awesome
Let’s cut to the chase. This recipe is the culinary equivalent of finding a $20 bill in your jeans pocket—pure, unadulterated joy. First off, it’s idiot-proof. I’ve made these while simultaneously answering emails and yelling at my dog to stop digging, and they still turned out perfectly. Second, they require just a handful of ingredients you probably already have. No weird, expensive gluten-free flours that you’ll use once and then let haunt your cupboard for years. They’re naturally gluten-free, wonderfully chewy, and packed with enough peanut butter flavor to make your heart sing. They’re the cookie that says, “I’m a sophisticated baker,” while whispering, “I spent 15 minutes on this, tops.”
Ingredients You’ll Need
Gather your squad. This is the whole crew. Pro tip: using a standard, no-stir peanut butter is best for consistency here. The natural, oily kind can make things a bit wonky.
- 1 cup (250g) Creamy Peanut Butter: The star of the show. Don’t get fancy here; just grab your favorite jar.
- 1 cup (200g) Granulated Sugar: For that perfect sweetness and chew.
- 1 large Egg: The glue that holds our delicious operation together. Make sure it’s at room temperature so it plays nice with the other ingredients.
- 1 tsp Baking Soda: This is what gives them a little lift and that perfect crinkle.
- A generous pinch of Salt: To cut through the sweetness and make the peanut butter flavor pop. Trust me on this.
- Optional: ½ cup Chocolate Chips or Chopped Salted Peanuts: Because more is more. IMPORTANT: Check your chocolate chips are labeled gluten-free if you’re highly sensitive.
Step-by-Step Instructions
Preheat your oven to 350°F (175°C). Line a baking sheet with parchment paper. Do not skip the parchment paper. It’s your best friend for easy cleanup and no-stick success.
- Mix the Wet Crew. In a medium bowl, combine the peanut butter, sugar, and egg. Stir it all together until it’s smooth and no longer looks like separate entities. It will be thick and a little stubborn, but you’ve got this. A little arm workout never hurt anyone.
- Bring in the Bubbles. Sprinkle the baking soda and salt over your peanut butter mixture. Now, mix it all in until everything is fully incorporated and you have a consistent, cookie-dough-like texture. If you’re going for chips or nuts, fold them in now.
- Scoop & Roll. This is the fun part. Roll the dough into small, 1-inch balls. You should get about 12-15. Place them on your prepared baking sheet, giving them about 2 inches of space to spread out and get social.
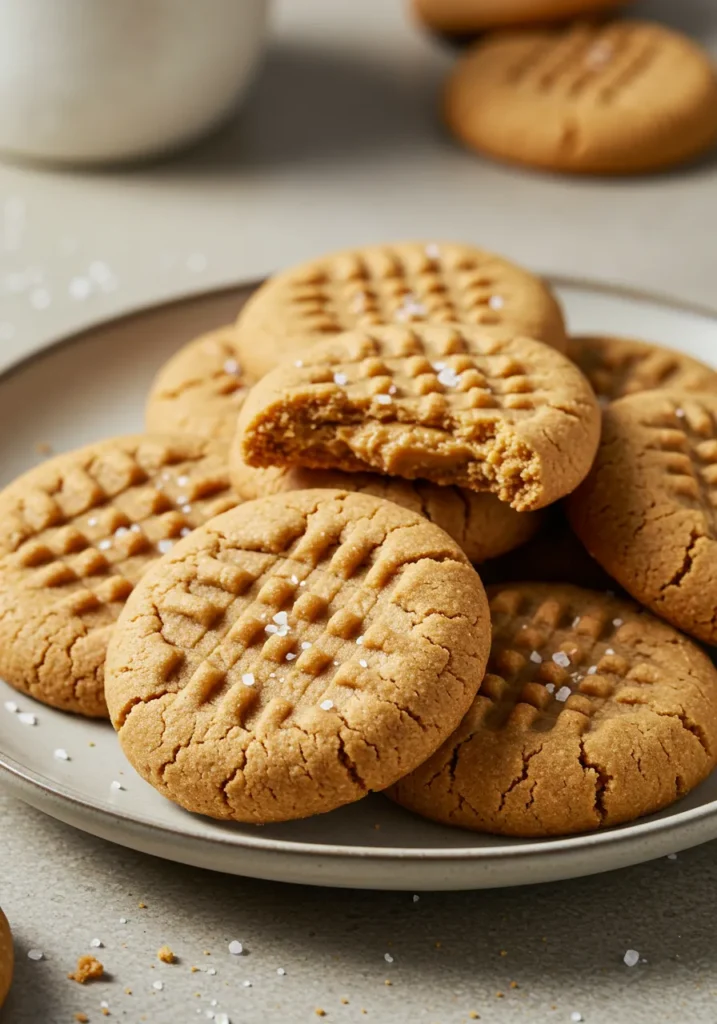
- The Signature Criss-Cross. Here’s where we get classic. Use a fork to gently press down on each dough ball, then press again perpendicular to the first set to create that iconic grid pattern. Pro Tip: Dip the fork in a little sugar between presses to prevent sticking and add a tiny bit of sparkle.
- Bake to Perfection. Pop those bad boys in the oven for 10-12 minutes. They might look a little soft and underdone when you take them out—that’s exactly what you want! They will set up as they cool. This is the secret to a chewy, not hockey-puck-like, cookie.
- The Hardest Part: Wait. Let the cookies cool on the baking sheet for at least 10 minutes before you even think about moving them to a wire rack. They need this time to firm up. I know, the wait is torture. Maybe just… smell them deeply.
Common Mistakes to Avoid
Let’s avoid the heartbreak, shall we?
- Skipping the Preheat: Thinking you don’t need to preheat the oven is a rookie mistake. A properly heated oven is key to the perfect cookie rise and texture. Just wait for the beep.
- Overbaking: If you wait for them to look “done” in the oven, you’ve gone too far. They continue to cook on the hot tray. Take them out when the edges are just set and the centers look soft.
- Using the Wrong PB: That all-natural, oily peanut butter that separates will make your dough too greasy and spread too much. Save it for your toast and use a standard brand like Jif or Skippy for these.
- Moving Them Too Soon: I get it, you’re excited. But moving a warm gluten-free cookie is a fragile operation. They will fall apart. Let them cool and solidify on the tray. Patience, grasshopper.
Alternatives & Substitutions
Baking is about making it work for you. Here’s how to mix it up:
- Sugar: You can swap the white sugar for coconut sugar for a deeper, almost caramel-like flavor. The texture will be slightly different, but still delicious.
- Chunky PB: Want more texture? Use crunchy peanut butter instead of smooth. You’ll get little peanutty bits in every bite.
- Vegan? You can try a flax egg (1 tbsp ground flaxseed mixed with 3 tbsp water, let sit for 5 mins). IMO, the texture is a bit more crumbly but still totally tasty.
- Chocolate: White chocolate chips, dark chocolate chunks, or even a drizzle of melted chocolate on top after baking are all elite-level moves.
- Extra Flavor: Add a teaspoon of vanilla extract to the dough for a little extra warmth.
FAQs about Gluten-Free Peanut Butter Cookies
Can I use natural peanut butter?
You can, but it’s a risky game. Because it has more oil, your cookies are likely to spread more and can sometimes turn out greasy. If it’s all you have, try reducing the amount by a tablespoon or two and give it a really good stir first.
Why are my cookies flat and spread out?
This usually means your dough was too warm or your peanut butter was too oily. Next time, try popping the shaped dough balls in the fridge for 15-20 minutes before baking to help them hold their shape.
How do I store these glorious cookies?
Keep them in an airtight container at room temperature. They’ll be perfect for about 5 days (if they last that long). FYI, they also freeze like a dream for up to 3 months.
Can I add gluten-free flour to this?
You can, but it will change the texture completely, making them more cakey. The beauty of this recipe is that it doesn’t need any flour at all! Embrace the simplicity.
Are these cookies actually gluten-free?
Yes! As long as you use certified gluten-free peanut butter and add-ins (like chocolate chips), this recipe is naturally gluten-free. Always double-check your labels to be safe.
Related Recipes
Final Thoughts about Gluten-Free Peanut Butter Cookies
And there you have it. The simplest, most satisfying gluten-free peanut butter cookie recipe that ever was. You didn’t need a degree in culinary arts or a pantry full of obscure ingredients, just a craving and a little bit of time.
Now go forth and bake. Impress your friends, your family, or just your future self who will be very happy to find these waiting. You’ve totally earned that warm, chewy, peanut buttery bite. Enjoy every last crumb
Printable Recipe Card
Want just the essential recipe details without scrolling through the article? Get our printable recipe card with just the ingredients and instructions.

