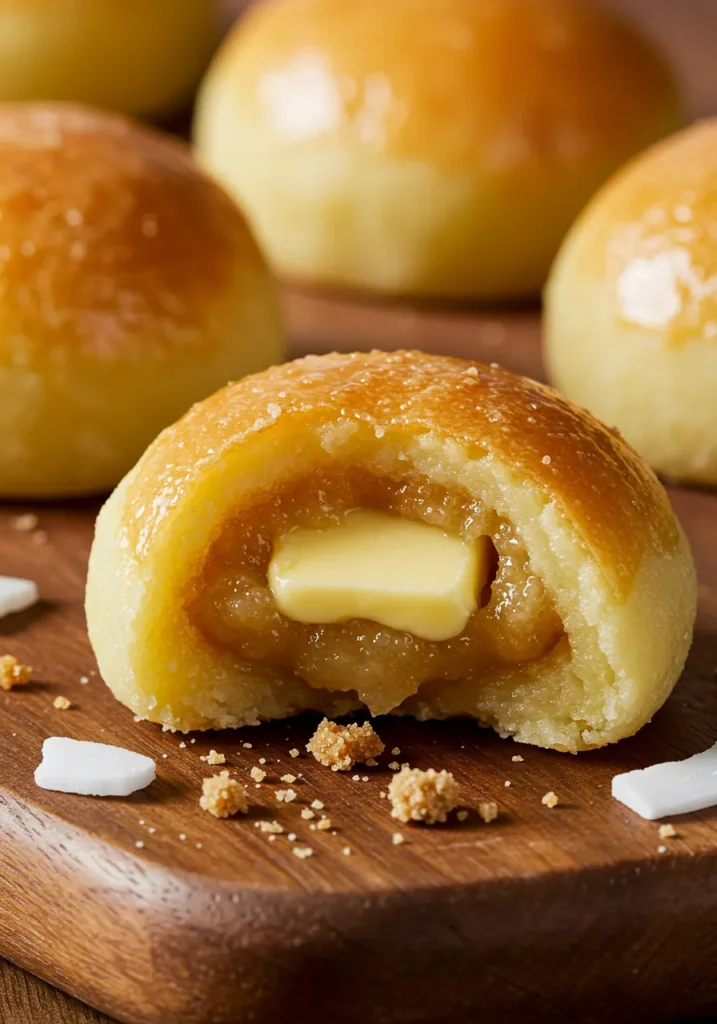
Ever bitten into something so good you actually stop and say, “Where have you been all my life?” Yeah, that’s how I felt the first time I tried Hawaiian butter mochi. Chewy, buttery, just the right amount of sweet, and somehow impossible to stop eating—like, you think you’ll just have a little square, but next thing you know… half the pan is gone. Oops.
If you’ve been curious about this Hawaiian treat (or if you’ve just been looking for an excuse to bake something amazing), you’re in the right place. I’m going to walk you through my go-to Hawaiian butter mochi recipe, with plenty of tips, personal notes, and maybe a pinch of sarcasm because… why not? 🙂
Let’s go!
What Even Is Hawaiian Butter Mochi?
First off—great question. Because if you’re thinking, Is this like regular mochi?, the answer is: sort of, but not really.
Here’s the scoop:
- Texture? Soft, chewy, and dense but still light enough to feel snackable. Like a cross between a brownie and a marshmallow.
- Flavor? Buttery, lightly sweet with a hint of coconut (don’t worry if you hate coconut—it’s subtle).
- Looks? Golden brown on top, cut into little squares of joy.
Unlike traditional Japanese mochi, which is usually made by pounding sticky rice into submission, butter mochi is baked in the oven. Yes, baked. Because sometimes we like to let the oven do the heavy lifting while we scroll Instagram.
Ingredients You’ll Need for Hawaiian Butter Mochi
Let’s keep it real—one of the best things about butter mochi is how easy it is. No fancy gadgets. No rare unicorn flours. Here’s what you’ll need:
Dry Ingredients:
- 2½ cups mochiko (sweet rice flour) — not regular rice flour. Mochiko is the magical stuff that gives you that chewy texture.
- 2 cups sugar — yes, that seems like a lot, but trust me.
- 2 teaspoons baking powder
- Pinch of salt — because salt makes everything better.
Wet Ingredients:
- 4 large eggs — at room temp (you know, if you remember to do that).
- 1 can (12 oz) evaporated milk
- 1 can (13.5 oz) coconut milk
- 1 stick (½ cup) unsalted butter, melted
- 1 teaspoon vanilla extract
That’s it. Seriously.
Step-By-Step Directions
You don’t need to be a professional baker for this one. If you can stir stuff and pour it into a pan, you’re already overqualified.
Step 1: Preheat & Grease
Preheat your oven to 350°F (175°C). Grease a 9×13-inch baking dish or line it with parchment. If you skip this step and end up chiseling pieces out of the pan later… well, you’ve been warned.
Step 2: Mix Dry Ingredients
In a big bowl, whisk together the mochiko, sugar, baking powder, and salt. Done.
Step 3: Mix Wet Ingredients
In another bowl, beat the eggs. Add the evaporated milk, coconut milk, melted butter, and vanilla. Whisk until smooth.
Step 4: Combine Everything
Pour the wet ingredients into the dry ingredients. Stir until fully combined and smooth. The batter will look pretty thin—don’t freak out. That’s how it’s supposed to look.
Step 5: Bake
Pour the batter into your prepared dish. Bake for 50–60 minutes, or until the top is golden brown and a toothpick comes out clean-ish. (Some stickiness is okay—it is mochi after all.)
Step 6: Cool & Cut
Let it cool completely before cutting it into squares. If you’re impatient and cut too soon, it might stick to your knife and make a mess. Not that I’ve ever done that… ahem.
Pro Tips to Make It Even Better
Wanna feel like a butter mochi master? Try these:
- Use high-quality mochiko flour. Koda Farms is my go-to—reliable and legit.
- Chill before cutting. It firms up a bit in the fridge and cuts more cleanly.
- Add-ins? Yes, please. Try sprinkling shredded coconut, adding a handful of chocolate chips, or swirling in some matcha.
- Don’t overbake. You’re going for golden on top, chewy in the middle—not bricks.
Ever wondered why some recipes come out dry? Yep, it’s usually overbaking. So, keep an eye on it the last 10 minutes or so.
Why You’ll Love This (And Maybe Never Stop Making It)
IMO, butter mochi is one of those perfect recipes:
- Foolproof. Seriously hard to mess up.
- Feeds a crowd. Makes a big batch.
- Stores well. Stays chewy for days in an airtight container.
- Gluten-free! (FYI: Sweet rice flour = no gluten.)
Plus, people always seem impressed when you bring it to a potluck—because it’s not your usual cookies or brownies. And hey, if you enjoy compliments (and who doesn’t?), this is your time to shine.
FAQS about Hawaiian Butter Mochi
Do I have to use coconut milk?
Technically no. You can swap it with regular milk if you’re anti-coconut. But, it won’t have quite the same richness.
Can I make this ahead?
Oh, absolutely. It even tastes better the next day. Pro move: make it at night, chill overnight, and slice in the morning.
How do I store it?
Keep it in an airtight container at room temp for a couple days or in the fridge for up to a week. If you’re fancy, you can even freeze it.
Can I halve the recipe?
Yep. Use an 8×8-inch pan and cut everything in half. Math: not just for school anymore. 😉
Fun Variations You Should Totally Try
You can stick with the classic (always a win), but if you feel like spicing things up:
- Matcha Butter Mochi: Add 1–2 tablespoons matcha powder to the dry ingredients.
- Chocolate Butter Mochi: Mix in ½ cup cocoa powder and some chocolate chips.
- Lilikoi (Passionfruit) Butter Mochi: Swap some of the coconut milk for lilikoi juice. Bright and tangy!
- Mango Butter Mochi: Fold in diced mango chunks. Tropical vibes all the way.
Basically, if you can dream it, you can probably butter mochi it.
My First Time Making It (A Quick Anecdote)
Okay, real talk: the first time I made butter mochi, I completely forgot to grease the pan. Rookie mistake. I ended up with delicious—but very stubborn—squares that required a small shovel to remove. Lesson learned: don’t skip the parchment paper. Since then, I’ve made it at least a dozen times, and it’s become my go-to for family get-togethers. Nobody complains. Ever. 😉
Why Butter Mochi Deserves a Spot in Your Recipe Box
So, let’s sum this up. Why should you, of all the desserts out there, give butter mochi a shot?
- It’s easy and requires zero special skills.
- It’s unique enough to wow your friends and family.
- It’s deliciously addictive (don’t say I didn’t warn you).
- And it’s basically impossible to ruin, even if you think you’re bad at baking.
So what are you waiting for? Go grab that mochiko and make some magic happen.
Related Recipes
- Summer Peach and Blueberry Cobbler Recipe
- Pioneer Woman’s Apple Dumplings Recipe
- Strawberry Crunch Banana Pudding Recipe
Final Thoughts about Hawaiian Butter Mochi
There you have it, my friend—everything you need to know to whip up the perfect Hawaiian butter mochi. It’s chewy, buttery happiness in a square. You can keep it classic, or you can get creative with all kinds of fun add-ins. Either way, it’s going to make you look like a rockstar in the kitchen.
And hey—when someone inevitably asks you for the recipe after tasting it? Just smile and say, “Oh, it’s nothing…” (Then send them here. 😉 )
Ready to make your own? Go for it. And don’t forget the parchment paper this time, okay?
Happy baking!
If you enjoyed this recipe or have your own butter mochi story, drop it in the comments below—I’d love to hear if yours came out better than my first (slightly sticky) attempt.
Now go forth and bake something awesome. You got this. ✌️
Hawaiian Butter Mochi Recipe
Ingredients
- 1 box 16 oz mochiko (sweet rice flour)
- 2 cups granulated sugar
- 2 tsp baking powder
- 4 large eggs
- 1 tsp vanilla extract
- 1 can 13.5 oz coconut milk
- 1 can 12 oz evaporated milk
- ½ cup unsalted butter melted
- Pinch of salt
Instructions
- Preheat oven to 350°F (175°C) and grease a 9x13-inch baking pan.
- In a large bowl, whisk together mochiko, sugar, baking powder, and salt.
- Add eggs, vanilla, coconut milk, and evaporated milk; mix until smooth.
- Stir in melted butter until fully combined.
- Pour batter into prepared pan and smooth the top.
- Bake for 1 hour, or until golden brown and set in the center.
- Let cool completely before cutting into squares.
Notes
- Cool fully before slicing for clean edges.
- Store in an airtight container at room temperature for up to 2 days or refrigerate for longer freshness.
DID YOU MAKE THIS EASY RECIPE?
If you have, then share it with us by sending a photo. We’re excited to see what you’ve made 🙂Printable Recipe Card
Want just the essential recipe details without scrolling through the article? Get our printable recipe card with just the ingredients and instructions.

