Alright, let’s be honest. Store-bought cherry pie filling is fine if you’re desperate or, you know, you have zero faith in your abilities. But homemade cherry pie filling? That’s where the real magic happens. If you’ve ever wondered why your grandma’s cherry pies always tasted better than anything from a can, buckle up—you’re about to learn the not-so-secret secrets.
Why Bother with Homemade Cherry Pie Filling?
Ever cracked open a can of cherry pie filling and felt a little… underwhelmed? Yeah, me too. I used it once in a pinch, and the pie ended up tasting like cherry-flavored syrup with some sad little fruit bits floating in it. Not my best baking flex. So, why invest a bit of time in making your own?
- Unbeatable flavor: Seriously, real cherries—fresh or frozen—deliver a tart-sweet punch that canned stuff can only dream of.
- You control the sweetness: Want your filling less sweet? More tangy? Go wild.
- No weird additives: Have you ever tried to pronounce some of those ingredients on a can? I’m all for challenges, but not during dessert.
Still reading? I know what you’re thinking—“Is it actually worth the extra effort?” IMO, absolutely. Plus, your kitchen will smell amazing. That alone makes it worth it.
The Cherries: Fresh, Frozen, Canned—What’s the Deal?
Let’s break it down. Not all cherries are created equal, and your choice will shape the final flavor. Don’t worry—I’ll save you from a cherry existential crisis.
Fresh Cherries
Fresh cherries are the gold standard. If you spot a big bag of plump, deep red ones at the farmer’s market, grab them. You’ll need to pit them yourself, though. (Tip: A sturdy paper clip does wonders. Who knew, right?)
Pros:
- Bright, real flavor
- Great texture
Cons:
- You’ll spend forever pitting. Trust me.
Frozen Cherries
Frozen cherries are a total lifesaver, especially out of season. They come pre-pitted, which means less time prepping and more time for snacking (don’t pretend you won’t).
Pros:
- Available year-round
- Work just as well as fresh in cooked fillings
Cons:
- Sometimes a tad softer than fresh.
Canned Cherries
Honestly? Not my first choice. They work in a major pinch, but you sacrifice both texture and taste. If you must, look for the “water pack” kind instead of those swimming in syrup.
Bottom line: Use what you have. Life’s too short to gatekeep cherries.
What Goes Into Homemade Cherry Pie Filling?
Alright, here comes the ‘recipe talk’. But I promise—it’s barely a recipe. More like a simple assembly of delicious things that make your taste buds do a happy dance.
The Core Ingredients
Here’s the classic lineup:
- Cherries: Duh. About 4 cups, pitted.
- Sugar: ¾ to 1 cup, depending on your sweet tooth.
- Cornstarch: 3 tablespoons (gives you that glossy, thick “pie” texture).
- Lemon juice: 1 tablespoon (for a pop of brightness).
- Almond extract: ¼ to ½ teaspoon if you feel fancy.
- Pinch of salt: Don’t skip it. It makes everything taste better.
Want to get creative? Toss in a splash of vanilla or a bit of cinnamon. I experimented once with a dash of black pepper. The result: surprisingly awesome. Ever tried it? No? Just trust me on this one.
Step-By-Step: Making Homemade Cherry Pie Filling
You got your ingredients. Let’s turn them into something glorious. I won’t bore you with essay-length steps—ain’t nobody got time for that.
- Combine cherries, sugar, and lemon juice in a big saucepan. Heat over medium.
- Wait for the juice to appear (from the cherries), then mix the cornstarch with a few tablespoons of water. Stir it in.
- Keep it simmering. Stir non-stop until it thickens and gets glossy. Takes about 8–10 minutes.
- Remove from heat. Stir in almond extract and that pinch of salt.
- Let cool before using—unless you enjoy lava-temperature pie filling.
FYI: If you use frozen cherries, throw them in straight from the freezer. No need to thaw. The filling may take a minute longer to thicken, but who’s counting?
Taste Test: Homemade vs. Store-Bought
Ever wondered if the homemade hype holds up? I’ve done the ultimate side-by-side (yes, in the name of research). Here’s what I found:
| Homemade | Store-Bought | |
| Flavor | Bold, fresh, complex | Sweet, one-note, artificial |
| Texture | Plump, real cherry pieces | Soft, often mushy |
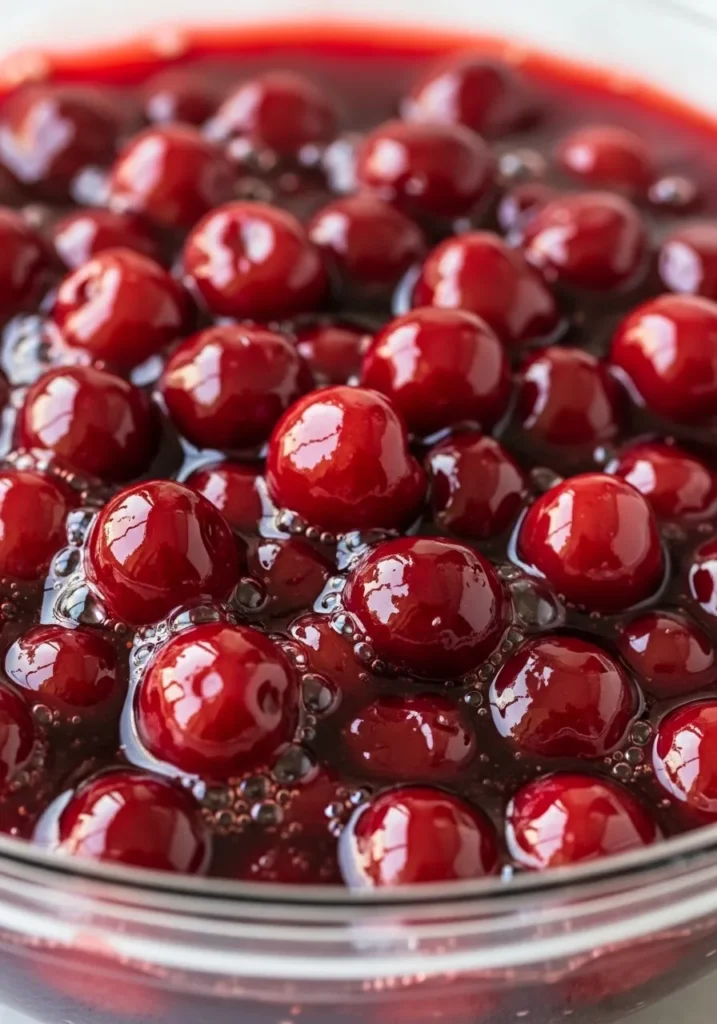
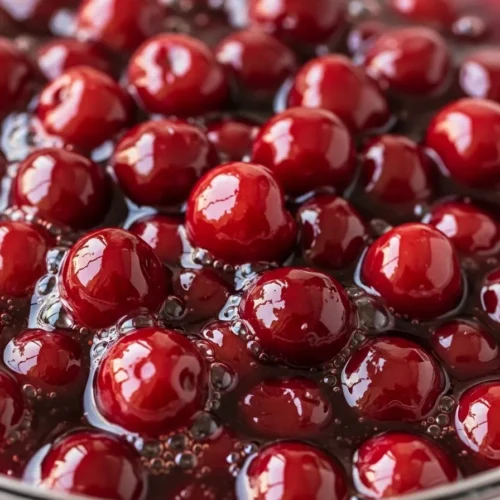
| Color | Deep red, glossy | Bright red (why tho??) |
| Price | Cheaper if cherries on sale | Cheap, but you get what you pay for |
No offense if you love the canned stuff (OK, maybe a little offense). But honestly, once you taste homemade, you’ll never go back.
Customizing Your Cherry Pie Filling
Now, let’s say you want to get fancy. Nothing wrong with that! IMO, the best recipes are templates, not rules chiseled in stone by some food judge.
Going Sugar-Free
Want less sugar? No big deal. Swap in your favorite sweetener—or just cut down the sugar. Heads-up: Some sugar alternatives react differently, so thicken accordingly.
Using Other Thickeners
Don’t have cornstarch? Arrowroot powder, tapioca starch, or even all-purpose flour will work. Each one tweaks the texture a bit:
- Arrowroot: Silky, slightly lighter.
- Tapioca: Chewy, glossy.
- Flour: Thicker, slightly cloudier.
Ever tried making filling with chia seeds? It’s not traditional, but it’s weird—and in a good way.
Boozy Upgrades
Add a splash of bourbon or amaretto. Adults will thank you. Kids might not notice. (If they do, maybe don’t mention it at school pick-up.)
Pro Tips for Perfect Cherry Pie Filling (And Avoiding Epic Fails)
Alright, you want to play like a pro? Borrow these hacks from my own adventures (and a few disasters—don’t act surprised).
- Don’t overcook: Thickening can go from “glossy pie bliss” to “rubbery blob” real quick.
- Let it cool: The flavors settle as it cools. Hot pie filling sometimes tastes sweeter than cold.
- Taste-test as you go: Your cherries might be sweet as candy—or sour enough to make you pucker.
- Store leftovers properly: Airtight jar in the fridge; use within a week. Or freeze for a surprise, pie-worthy moment later. You’re welcome.
Beyond the Pie: Epic Uses for Cherry Pie Filling
Who said it’s just for pies? You deserve more from your cherry concoction. Here’s how I use my extras (because let’s face it, I always “accidentally” make too much):
- Swirled in yogurt or oatmeal: Like breakfast, but fancy.
- Topping for cheesecake or pancakes: Trust me, your brunch needs this.
- Stuffed inside crepes: Feeling extra? Go the Nutella + cherry route.
- As a sundae topping: Vanilla ice cream + cherry pie filling = total win.
Ever tried mixing it into a smoothie? Just saying, that’s a move.
Cherry Pie Filling Troubleshooting
You made it—but something’s off? Don’t panic. Been there, fixed that.
- Too thick? Stir in a touch of water or extra cherry juice.
- Too runny? Return to the stove, simmer, and add a tiny bit more thickener (dissolved in water!).
- Too sweet? A squeeze of lemon does wonders. Or just call it “extra sweet” and roll with it. 🙂
FAQs: Because Let’s Be Real, Everyone Has Questions
How long does homemade cherry pie filling last?
Fridge? About a week. Freeze it, and you can go for months. It probably won’t last that long, TBH.
Can I use sweet cherries or tart cherries?
Yes and yes. Tart cherries = classic pie flavor. Sweet cherries work if you adjust the sugar down. IMO, mixing both yields the most interesting flavor.
Can I can my pie filling for later?
You can can it (couldn’t resist, sorry), but you need to follow safe canning procedures. If you’re not sure, freeze it instead. It’s easier and less scary.
Do I need to cook the filling before baking my pie?
Definitely. If you don’t, you risk runny pies and disappointment. Don’t play yourself.
Related Recipes:
- Old-Fashioned Chocolate Pie
- Classic American Cheeseburger Pie: Easy Recipe
- Shamrock Shake Pie: Easy, Minty, No-Bake Recipe
Conclusion
You made it! (Reading, I mean—relax.) By now, you know why homemade cherry pie filling reigns supreme, how to whip it up with whatever cherries you snag, and what to do if you run into a pie apocalypse. I won’t lie: Your friends might start showing up “just to chat” around dessert time.
So, what are you waiting for? Channel your inner pie wizard and get that filling simmering. IMO, you’ll never look at the canned stuff the same way again. And hey, if you ever sneak a spoonful straight out of the pot… your secret’s safe with me. 😉
Happy baking, pie pals
Homemade Cherry Pie Filling Recipe
Ingredients
- 4 cups pitted cherries fresh or frozen, thawed
- 1 cup granulated sugar
- 2 tablespoons lemon juice
- ¼ cup cornstarch
- Pinch of salt
- ⅛ teaspoon cinnamon optional
- ½ cup water optional, if cherries are not very juicy
Instructions
- In a saucepan over medium heat, combine cherries, sugar, lemon juice, cornstarch, salt, cinnamon, and water if needed.
- Stir well and bring to a simmer.
- Reduce heat to medium-low and cook, stirring frequently, until the filling thickens, about 8-10 minutes.
- Remove from heat and let cool slightly before using or storing.
Notes
DID YOU MAKE THIS EASY RECIPE?
If you have, then share it with us by sending a photo. We’re excited to see what you’ve made:.Printable Recipe Card
Want just the essential recipe details without scrolling through the article? Get our printable recipe card with just the ingredients and instructions.

