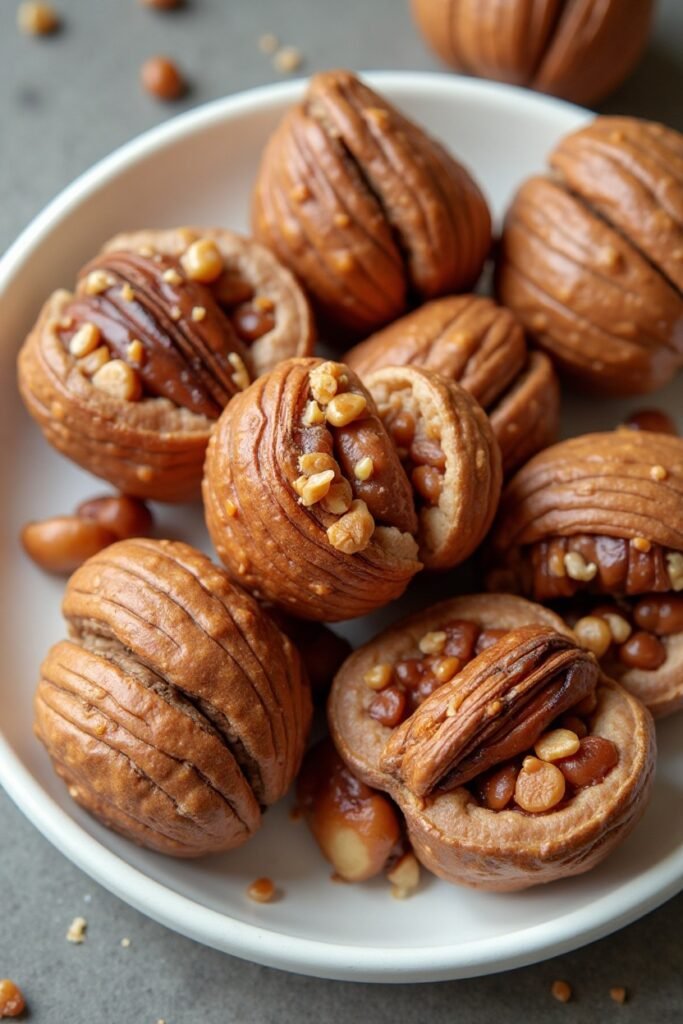
Maple glazed walnuts are one of those simple treats that feel a little special without much effort. They’re quick to make, smell amazing while they cook, and add a touch of warmth to everything from salads to ice cream. You’ll only need a handful of pantry ingredients and about 15 minutes.
The result is a glossy, crisp coating with real maple flavor and a hint of spice. Keep a jar on the counter, and you’ll reach for them all week.
What Makes This Special
These walnuts are all about balance. The maple syrup brings a natural sweetness that doesn’t taste artificial, while a pinch of salt and cinnamon rounds things out.
The glaze turns shiny and crisp as it cools, giving you that satisfying snap. You can keep the flavors simple or dress them up with vanilla, a little heat, or citrus zest. They’re also versatile: snackable on their own, but just as good sprinkled over oatmeal, yogurt, or roasted vegetables.
Ingredients
- 2 cups walnut halves (about 200 g)
- 1/3 cup pure maple syrup (Grade A dark for deeper flavor)
- 1 tablespoon unsalted butter (or coconut oil for dairy-free)
- 1/2 teaspoon ground cinnamon
- 1/4 teaspoon fine sea salt (plus a pinch more for finishing)
- 1/2 teaspoon vanilla extract (optional but lovely)
- Pinch of cayenne (optional, for a subtle kick)
Instructions
- Prep your pan. Line a baking sheet with parchment paper or a silicone mat.This prevents sticking and makes cleanup easy.
- Warm the glaze. In a wide skillet over medium heat, add the maple syrup, butter, cinnamon, and salt. Stir until the butter melts and the mixture looks smooth and glossy, about 1 minute.
- Add the walnuts. Stir in the walnut halves, tossing to coat every piece. Keep the heat at medium and stir often to prevent hot spots.
- Cook to thicken. Let the mixture bubble gently for 3–5 minutes, stirring constantly.You’re looking for the syrup to thicken and cling to the nuts. It will look shiny and a bit sticky.
- Finish the flavor. Turn off the heat and stir in the vanilla and cayenne (if using). Work quickly—the glaze thickens as it cools.
- Spread and separate. Immediately pour the nuts onto the lined baking sheet.Use a spatula or forks to spread them into a single layer and separate clumps while still warm.
- Cool completely. Let the walnuts cool for 15–20 minutes. As they cool, the glaze will firm up and turn crisp.
- Optional sprinkle. Before they’re fully cool, add a tiny pinch of flaky salt for contrast. Once cool, break apart any remaining clusters.
Keeping It Fresh
Store the cooled walnuts in an airtight container at room temperature for up to 2 weeks.
If your kitchen is humid, add a small piece of parchment to absorb moisture. For longer storage, refrigerate for up to a month or freeze for up to three months. If they lose their crunch, warm them on a baking sheet at 300°F (150°C) for 5–7 minutes, then cool again.
Health Benefits
Walnuts are rich in omega-3 fatty acids, which support heart and brain health.
They also provide fiber, plant protein, and minerals like magnesium and copper. Maple syrup, while still a sugar, contains small amounts of manganese and zinc and has a lower processing footprint than many refined sweeteners. Portion control matters, but a small handful can be a satisfying, nutrient-dense snack.
Pitfalls to Watch Out For
- Overcooking the syrup: If the pan gets too hot, the maple can darken and turn bitter.Keep the heat at medium and stir constantly.
- Sticky clumps: Spread and separate the nuts right away. If you wait, you’ll get one big cluster.
- Humid storage: Moisture softens the glaze. Use an airtight container and avoid storing near the stove.
- Using imitation syrup: Corn syrup blends don’t set as nicely and lack the clean maple flavor.Choose pure maple syrup.
- Skipping the salt: A pinch of salt makes the sweetness pop and keeps the flavor balanced.
Recipe Variations
- Spiced Maple: Add 1/4 teaspoon ground ginger and a pinch of nutmeg along with the cinnamon.
- Maple Orange: Stir in 1 teaspoon fresh orange zest off the heat. Great for salads and holiday boards.
- Smoky Heat: Swap cinnamon for 1/4 teaspoon smoked paprika and keep the pinch of cayenne.
- Maple Vanilla Bean: Split a vanilla bean and scrape the seeds into the syrup before heating for a deeper aroma.
- Pecan or Almond Mix: Use half walnuts and half pecans or whole almonds. Cooking time stays the same; almonds are slightly firmer.
- Sesame Crunch: Sprinkle 1 tablespoon toasted sesame seeds over the nuts right after spreading on the sheet.
FAQ
Can I make these without butter?
Yes.
Use coconut oil or a neutral oil instead of butter. Coconut oil gives a lovely hint of richness and keeps the recipe dairy-free.
Why aren’t my walnuts crunchy?
They likely needed a bit more cooking or proper cooling. Make sure the syrup thickens in the pan and spread the nuts in a single layer to cool completely.
A quick re-crisp in a low oven can help.
Can I reduce the sweetness?
You can cut the maple syrup to 1/4 cup, but the glaze will be thinner and less glossy. Consider adding 1 teaspoon water to prevent scorching and cook gently.
How do I avoid sticking to the pan?
Use a nonstick skillet or well-seasoned pan and keep stirring. Lining the baking sheet with parchment or a silicone mat is essential for easy release.
Are these good for salads?
Absolutely.
They add crunch and a touch of sweetness. Pair them with bitter greens, goat cheese, and a tangy vinaigrette for balance.
Can I use other nuts?
Yes. Pecans, almonds, and cashews all work.
Adjust only if needed: cashews can brown faster, so watch the heat closely.
How much salt should I finish with?
A light pinch of flaky salt—about 1/8 teaspoon total for the batch—adds great contrast without overpowering the maple.
Wrapping Up
Maple glazed walnuts are fast, flexible, and surprisingly elegant. With a short ingredient list and a few minutes on the stove, you get a snack that’s both wholesome and craveable. Keep the base recipe handy, then riff with spices or citrus to match the season.
Whether you toss them on a salad or snack straight from the jar, they’re the kind of treat you’ll want to keep around.
Printable Recipe Card
Want just the essential recipe details without scrolling through the article? Get our printable recipe card with just the ingredients and instructions.

