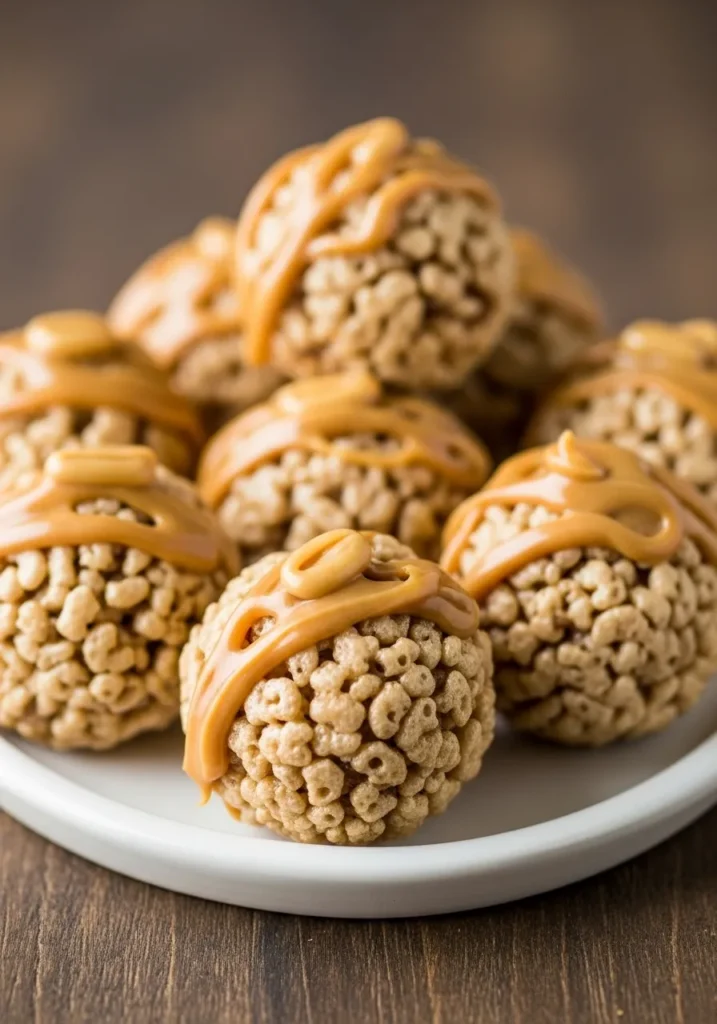
So, you’re craving something sweet, crunchy, and stupidly easy to whip up, huh? Same. These Peanut Butter Rice Krispie Balls are your new BFF in the kitchen—zero fuss, maximum yum. Imagine gooey peanut butter and crispy cereal rolled into bite-sized bliss. Ready to dive into this no-bake magic? Let’s make some treats that’ll have everyone begging for seconds!
Why This Recipe is Awesome
These little balls of joy are the lovechild of nostalgia and pure laziness. They’re no-bake, so you won’t be sweating over a hot oven, and they come together faster than you can say “I’m starving.” Plus, they’re idiot-proof—even I didn’t screw these up, and that’s saying something. Whether you’re sneaking a midnight snack or impressing your friends at a potluck, these babies deliver big flavor with minimal effort.
Ingredients You’ll Need for Peanut Butter Rice Krispie Balls
Here’s the short list of stuff you’ll need to make these addictive treats. No fancy-schmancy ingredients here, just pantry staples:
- Peanut Butter (1 cup): Creamy or crunchy, your call. Go for the good stuff, not that sad, low-fat nonsense.
- Rice Krispies Cereal (3 cups): The OG crispy cereal. Generic brands work, but don’t skimp on the crunch.
- Honey (1/3 cup): For that sticky-sweet vibe. Maple syrup can pinch-hit if you’re out.
- Powdered Sugar (1/2 cup): Makes everything sweet and smooth. Don’t skip this unless you hate happiness.
- Vanilla Extract (1 tsp): A splash of flavor magic. Imitation works, but real vanilla is chef’s kiss.
- Chocolate Chips (1 cup, optional): For dipping or drizzling. Dark, milk, or white—live your truth.
- Butter (2 tbsp, optional): For melting with chocolate. Skip if you’re keeping it simple.
Pro tip: Measure your peanut butter first to avoid a sticky mess in your measuring cup.
Step-by-Step Instructions
Ready to make these bad boys? Follow these steps, and you’ll be popping peanut butter balls like a pro in no time. Keep it chill, and don’t overthink it.
- Mix the wet stuff: In a big bowl, combine peanut butter, honey, and vanilla extract. Stir until it’s smooth like your best pickup line. If it’s too thick, microwave for 10 seconds to loosen it up.
- Add the sugar: Dump in the powdered sugar and mix until it’s fully blended. It should look like a thick, dreamy paste. Sneak a taste—no one’s judging.
- Fold in the cereal: Add the Rice Krispies and gently stir. You want the cereal to stay crunchy, so don’t go Hulk-smashing it. The mix should hold together when squeezed.
- Shape the balls: Scoop out tablespoon-sized portions and roll them into balls with your hands. If it’s sticky, lightly wet your hands or dust them with powdered sugar. Aim for ping-pong ball size.
- Chill out: Pop the balls on a parchment-lined tray and refrigerate for 20–30 minutes. This firms them up so they don’t fall apart when you’re showing off.
- Optional chocolate dip: Melt chocolate chips with butter in the microwave (30-second bursts, stirring in between). Dip or drizzle the balls with chocolate. Let them set in the fridge for another 10 minutes.
- Serve and slay: Arrange on a plate or shove them straight into your mouth. Store leftovers (if there are any) in an airtight container in the fridge for up to a week.
Quick tip: If you’re feeling extra, roll the balls in crushed nuts or sprinkles before chilling for that Instagram-worthy vibe.
Common Mistakes to Avoid
Even a recipe this easy has pitfalls. Here’s how to not mess it up, you culinary rockstar:
- Using cheap peanut butter: That watery, off-brand stuff? It’ll make your balls sad and crumbly. Stick with the good brands.
- Overmixing the cereal: If you crush the Rice Krispies into dust, you’ll lose that glorious crunch. Stir gently, like you’re petting a puppy.
- Skipping the chill: Warm balls (ha!) fall apart. Give them time in the fridge to firm up before you start dipping or eating.
- Microwaving chocolate like a maniac: Don’t nuke it for too long, or you’ll end up with a burnt, gloopy mess. Short bursts, people!
Alternatives & Substitutions
Not everyone’s pantry is a carbon copy of mine, so here are some swaps to keep things flexible. IMO, experimenting is half the fun.
- Peanut Butter: Swap with almond butter or sunflower seed butter for nut allergies. Just make sure it’s thick, not runny.
- Honey: Maple syrup or agave nectar works just as well. Corn syrup’s fine too, but it’s a bit basic.
- Rice Krispies: Cornflakes or crushed pretzels can sub in for a different crunch. Go wild, but keep it crispy.
- Chocolate: Skip the chocolate entirely for a lighter treat, or use white chocolate for a sweeter twist. Candy melts work for fun colors.
- Add-ins: Toss in mini marshmallows, chopped nuts, or coconut flakes for extra flair. Just don’t overdo it, or they won’t hold together.
Feel free to play around, but don’t blame me if your “creative” combo tastes like regret.
FAQs about Peanut Butter Rice Krispie Balls
Can I use crunchy peanut butter?
Heck yeah! Crunchy peanut butter adds extra texture, like little nutty surprises in every bite. Just make sure it’s well-mixed with the honey.
How long do these last?
In the fridge, they’re good for about a week in an airtight container. But let’s be real—they’ll be gone in two days, max.
Can I freeze them?
Yup! Pop them in a freezer-safe bag for up to 3 months. Thaw in the fridge for a few hours before eating, or risk breaking a tooth.
What if I don’t have powdered sugar?
You can blitz regular sugar in a blender to make your own. Or skip it and add a bit more honey, but they might be stickier.
Can I make these vegan?
Totally! Use maple syrup instead of honey and dairy-free chocolate chips. Easy-peasy, plant-based deliciousness.
Do I have to use chocolate?
Nah, they’re awesome without it. The chocolate’s just extra credit for when you’re feeling fancy or bribing someone.
Can kids help make these?
For sure! Rolling the balls is kid-friendly and fun. Just keep them away from the microwave unless you want a chocolate explosion.
Related Recipes
Final Thoughts about Peanut Butter Rice Krispie Balls
There you go, friend—Peanut Butter Rice Krispie Balls that are so easy, you’ll wonder why you ever bothered with complicated desserts. These treats are perfect for lazy days, last-minute party snacks, or just because you deserve something sweet. Now go impress someone (or just yourself) with your new culinary skills. You’ve earned it! What’s next on your snack list?
Printable Recipe Card
Want just the essential recipe details without scrolling through the article? Get our printable recipe card with just the ingredients and instructions.

