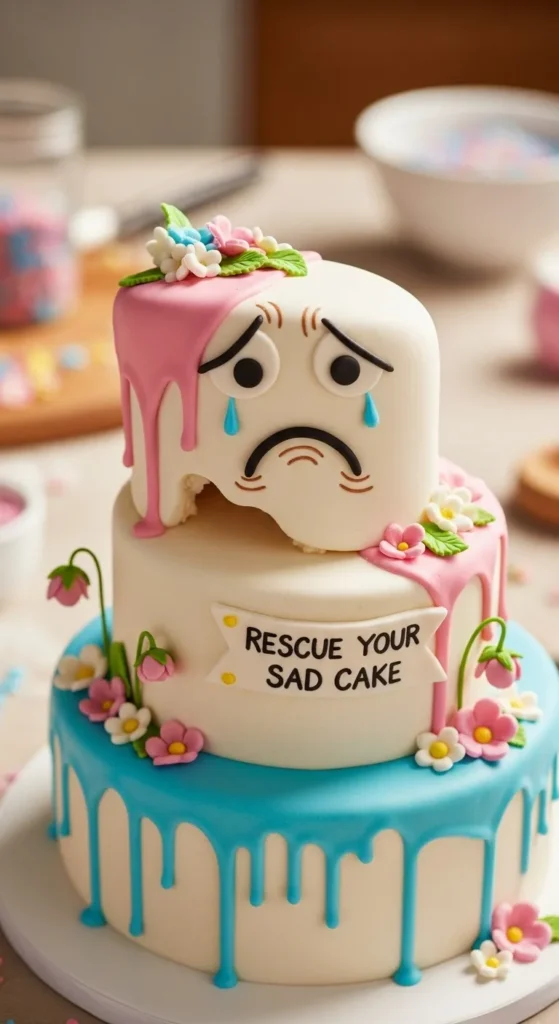
So you’ve baked a cake. It looked glorious coming out of the oven, a golden-brown triumph. But now? It’s crumbly, it’s dry, it’s… well, it’s a bit of a disappointment. Don’t you dare even think about tossing that cakey casualty into the bin! We’ve all been there, staring at a desert-dry sponge, wondering where it all went wrong. I’m here to tell you that all is not lost. Consider this your cake ER, and I’m the doctor in (apron) house. We’re about to perform a simple, downright magical moisture miracle that will bring your baked good back from the brink.
Why This Recipe is Awesome
Let’s be real: this isn’t so much a recipe as it is a culinary hack of heroic proportions. It’s the baking equivalent of finding a twenty-dollar bill in an old jacket pocket. It’s stupidly simple, requires zero fancy ingredients, and works 99% of the time. The best part? You don’t have to admit to anyone that you slightly botched the bake. You can just bask in the glory of serving a perfectly moist, delicious cake. They’ll think you’re a genius. Your secret is safe with me.
Ingredients You’ll Need
Gather your supplies, doctor. The patient is waiting. You likely have all of this already in your kitchen.
- Your Dry Cake: The star of the show. Any shape, any flavor.
- Simple Syrup: The ultimate moisture miracle worker. (See? No weird chemicals!).
- Granulated Sugar: Just plain white sugar. About 1 cup.
- Water: Tap is fine. About 1 cup.
- Optional Flavor Boosters (Choose one or mix!):
- Vanilla Extract: The classic. A teaspoon will do.
- Citrus Zest/Juice: Lemon, orange, lime—whatever complements your cake. A tablespoon of juice or a teaspoon of zest.
- Liqueur: Grand Marnier, Amaretto, Bailey’s. A tablespoon for a grown-up kick.
- Espresso or Strong Coffee: Perfect for chocolate cakes. A tablespoon.
Step-by-Step Instructions
This is less of a delicate baking process and more of a fun, spritzy art project. Let’s go.
- Create Your Elixir of Life. In a small saucepan, combine equal parts sugar and water (start with 1 cup each). Heat it over medium heat, stirring just until the sugar completely dissolves. This takes only 2-3 minutes. Do not let it boil into a syrup—you just want the sugar to dissolve completely. Remove it from the heat immediately once it’s clear.
- Let it Cool and Infuse. Seriously, let it cool. Pouring hot syrup on your cake will make a weird, gummy mess. While it’s cooling, stir in your optional flavor booster if you’re using one. Vanilla? Now’s the time. A shot of rum? Go for it.
- Poke the Beast. Use a skewer, a fork, or even a thin knife. Poke holes all over the surface of your dry cake. Go to town! The more holes, the more channels for that sweet, sweet syrup to seep down into and hydrate every last crumb. Don’t be shy.
- The Baptism. Now for the fun part. You have two options: gently brush the cooled syrup all over the cake surface with a pastry brush, or pour it into a spray bottle and mist the entire cake like you’re giving it a refreshing spa treatment. If brushing, do it slowly and evenly, letting the syrup absorb before adding more.
- The Waiting Game. This is the hardest part. Walk away. Let the cake sit for at least an hour, preferably two. Cover it loosely with foil or a cake dome and let the syrup work its magic, transforming those sad, dry crumbs into moist, delicious morsels.
- Frost and Deceive. Once fully absorbed, frost your cake as usual. Serve it with a smug smile. No one will ever know it was on the verge of a crumbly death.
Common Mistakes to Avoid
- Using Hot Syrup: I said it once, I’ll say it again. Hot syrup = gummy, gross cake top. Patience is a virtue, especially in cake rescue operations.
- Not Poking Enough Holes: Three pokes won’t cut it. You need a lot of holes to create proper hydration channels. Think “enthusiastic woodpecker,” not “timid mouse.”
- Drowning It: More syrup is not always better. You can always add more, but you can’t take it away. Add it in stages, allowing the cake to drink it up before adding another layer. You’re going for moist, not soggy.
- Skipping the Rest Time: Impatience ruins everything good in life, including rescued cakes. Let it sit! The syrup needs time to redistribute evenly.
Alternatives & Substitutions
No pastry brush? A spoon works in a pinch—just drizzle slowly. No spray bottle? No problem, the brush method is actually more traditional.
What if you don’t want to make a syrup? IMO, syrup is the best method, but you have a couple of Hail Mary options:
- The Milk or Cream Brush: Brush the cake with milk, half-and-half, or even a thin layer of flavored coffee creamer. It adds moisture and fat. It’s not quite as effective as syrup, but it’s a decent quick fix.
- The Frosting Lock-In: If you’re planning to frost the cake, do it immediately after it cools (but before it dries out completely). A thick layer of buttercream or cream cheese frosting can actually seal in what little moisture is left, preventing it from getting any worse. It’s a preventative measure, not a cure.
FAQ
Can I use this method on a cake that’s already been frosted?
Nope. Sorry. This is a pre-frosting rescue mission. Trying to add syrup to a frosted cake will just make a slimy, slidey mess. It’s a disaster waiting to happen.
Will it make my cake too sweet?
It might add a touch more sweetness, but that’s why using a complementary flavor (like citrus or coffee) is a pro move. It balances it out. And let’s be honest, is there really such a thing as “too sweet” when it comes to cake?
How long will a rescued cake last?
Because you’ve added more moisture, it’s best to eat it within 2-3 days. Keep it covered at room temperature or in the fridge if your frosting requires it. The moisture won’t just vanish!
Can I use honey or maple syrup instead?
You can, but FYI, they have much stronger flavors and will make your cake taste like honey or maple syrup. They can also make the texture a bit stickier than simple syrup. Use them sparingly if you decide to go for it.
What if my cake is also burnt on the edges?
First, grab a serrated knife and gently saw off the burnt bits. You can’t syrup away a charred flavor. Then, proceed with the moisture miracle on the remaining cake.
Will this work on gluten-free or vegan cakes?
Absolutely! Dryness is an equal-opportunity cake offender. This method works on any cake that’s turned out too crumbly and dry, regardless of its dietary affiliation.
Related Recipes:
- Mango Sorbet Recipe That’ll Blow Your Mind
- Pineapple Upside Down Cake Recipe
- Pineapple Coconut Cream Tart Recipe: Delicious & Crazy Easy
- Refreshing Pineapple Sorbet Recipe – Cool & Tropical
Final Thoughts
There you have it. The next time a baking project doesn’t go quite to plan, remember you have this trick up your sleeve. Baking is part science, part art, and all heart. A few simple ingredients and a little patience can salvage your masterpiece and your pride. Now go forth, rescue that cake, and enjoy every last moist, delicious bite. You’ve got this
Printable Recipe Card
Want just the essential recipe details without scrolling through the article? Get our printable recipe card with just the ingredients and instructions.

