Hey, friend! Ever smelled a fresh loaf of sourdough so tangy and crusty it makes you want to quit store-bought bread forever? Let me introduce you to sourdough starter, the magical, bubbly mix that’s the heart of every great sourdough loaf. I started my own jar last year, and now I’m that person who names their starter (meet “Bubbles”) and checks on it like a pet! Ready to whip up a starter that’ll make your kitchen smell like a bakery? Let’s get fermenting!
Why This Sourdough Starter Is a Total Winner
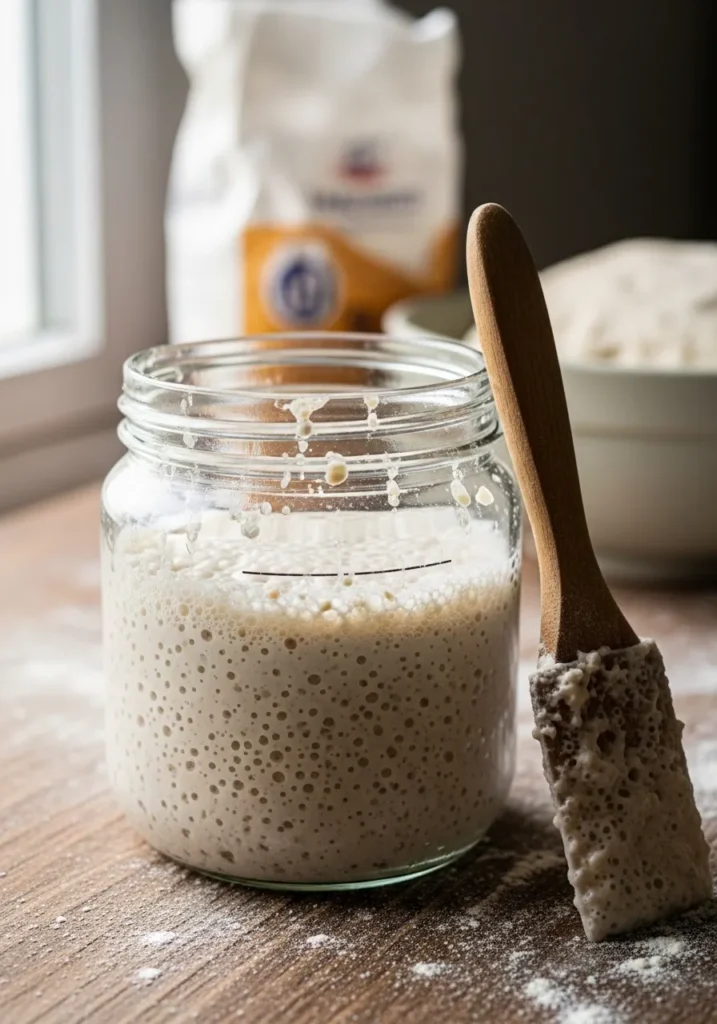
So, what’s the big deal with a jar of flour and water? It’s not just a mix—it’s a living, bubbling culture that turns simple ingredients into artisan bread. I mean, who doesn’t love a loaf with that perfect chewy crust? Here’s why this recipe rocks:
- Super Simple: Uses just flour and water, no fancy equipment needed.
- Versatile: Makes bread, pancakes, waffles, or even pizza dough.
- Low Maintenance: Feed it once a day, and it’s happier than I am after coffee.
- Rewarding: Creates bakery-quality results with minimal effort.
Ever wonder why sourdough tastes so good? It’s the wild yeast and bacteria in the starter that give it that tangy, complex flavor.
The Magic of Wild Yeast and Patience
The stars here are wild yeast and lactic acid bacteria, which you capture from the air to ferment your flour-water mix. Regular feeding builds a strong, bubbly starter ready for baking. I learned the hard way that skipping feeds makes a sad, flat starter—consistency is key! It’s like nurturing a tiny sourdough baby.
Ingredients You’ll Need
Alright, let’s talk ingredients. This recipe uses just two things to create that tangy, bubbly magic. Here’s what you’ll grab:
- 1 cup all-purpose flour (or whole wheat, rye, or a mix)
- ½ cup lukewarm water (non-chlorinated, about 85°F-90°F)
- Optional: 1 tbsp pineapple juice (for the first 2 days, to boost acidity)
Substitutions That Work
No all-purpose flour? Rye flour or whole wheat flour kickstarts fermentation faster, though all-purpose is easier to maintain, IMO. Out of filtered water? Bottled water or boiled tap water works, but avoid chlorinated water—it kills yeast. Want a gluten-free starter? Use gluten-free flour like rice flour, but expect slower fermentation. The key is that flour-water vibe, so don’t skip the daily feeds!
Step-by-Step: How to Make a Sourdough Starter
Ready to start? This is so easy, you’ll wonder why you didn’t try it sooner. Here’s how to nail it:
Step 1: Day 1 – Start the Mix
- Combine 1 cup flour and ½ cup lukewarm water in a clean glass jar (at least 1-quart size).
- Add 1 tbsp pineapple juice (optional) to boost acidity and prevent bad bacteria.
- Stir until smooth, cover loosely with a lid or cloth, and let sit at room temperature (70°F-80°F) for 24 hours.
Step 2: Days 2-3 – First Feeds
- Check for small bubbles or a slight sour smell—early signs of fermentation.
- Discard half the mixture (about ½ cup) and add 1 cup flour and ½ cup lukewarm water.
- Stir, cover loosely, and let sit for another 24 hours. Repeat daily.
Step 3: Days 4-7 – Build Strength
- Continue discarding half the starter and feeding with 1 cup flour and ½ cup water daily.
- Look for more bubbles, a tangy smell, and doubling in size within 4-8 hours after feeding.
- By day 7, your starter should be bubbly and ready to bake if it doubles consistently.
Step 4: Maintain Your Starter
- Once active, store in the fridge if not baking daily, feeding once a week.
- Before baking, feed at room temp for 1-2 cycles to revive its strength.
- Use the discard for pancakes or waffles to avoid waste.
Pro tip: I once forgot to discard, and my jar nearly overflowed like a science experiment gone wild. Discard half daily to keep your starter happy!
Tips for Nailing Your Sourdough Starter
Wanna make your starter next-level? Here are my go-to tricks:
- Use a Glass Jar: A clear jar lets you see bubbles and growth easily.
- Keep It Warm: Store at 70°F-80°F for faster fermentation.
- Feed Consistently: Use the same flour and water amounts every day.
- Track Progress: Mark the jar with a rubber band to monitor rise and fall.
- Be Patient: A strong starter can take 7-14 days, so don’t rush it.
Ever wonder why some starters fail? It’s usually inconsistent feeding or cold temps that slow down the wild yeast magic.
Variations to Mix It Up
Bored of the classic? Try these twists to customize your starter:
Rye Sourdough Starter
Use rye flour for a faster, tangier starter with a nutty flavor.
Whole Wheat Sourdough Starter
Swap all-purpose for whole wheat flour for a heartier, earthier taste.
Gluten-Free Sourdough Starter
Use brown rice flour or buckwheat flour for a gluten-free version.
Fruit-Boosted Sourdough Starter
Add grape juice instead of pineapple juice for a different acidic kick.
Storing and Maintaining Like a Pro
Got a bubbly starter? Here’s how to keep it thriving:
- Room Temp Storage: Feed daily if kept out, discarding half each time.
- Fridge Storage: Store in the fridge for up to 1 week between feeds.
- Reviving: Feed at room temp 1-2 times before baking to wake it up.
- Freezing: Freeze small portions for up to 6 months as a backup.
I’ve used my starter’s discard for the fluffiest pancakes, and it was a total game-changer. Keep your starter fed for that bubbly vibe!
FAQs About Sourdough Starter
Got questions? I’ve got you covered. Here’s what folks usually ask:
Why isn’t my starter bubbling?
Your yeast might need warmer temps or more time. Keep it at 70°F-80°F and be patient.
Can I use tap water?
Filtered water is best; chlorinated tap water can kill wild yeast.
How do I know it’s ready?
A starter is ready when it doubles in size within 4-8 hours after feeding.
Can I skip discarding?
Discarding prevents overflow and keeps the starter strong. Use discard for recipes!
What can I make with it?
Use your starter for sourdough bread, pizza, or muffins. I love it for waffles!
Related Recipes:
- Homemade Cheesy Breadsticks: Easy, Cheesy Comfort Food Recipe
- Coconut Cheesecake Bread Pudding Recipe
- Garlic Butter Flatbread: Easy, Crispy, Flavorful Recipe
Final Thoghts
So, there you have it—sourdough starter, the ultimate bubbly base for artisan baking that’s easier than it looks. It’s like having a tiny bakery in a jar, perfect for bread lovers or curious home cooks. Whether you’re baking your first loaf or experimenting with discard recipes, this starter delivers big on flavor with minimal effort. Grab your flour, start your jar, and get ready for a baking adventure that’ll have everyone asking for your secret. What’s stopping you from starting this today? 🙂

Sourdough Starter:
Ingredients
- Organic all-purpose flour filtered water
Instructions
- Mix equal parts flour and water; feed daily by discarding half and adding fresh flour and water; keep covered at room temperature; after 7-10 days, starter is bubbly, doubles in size and is ready to use.
Notes
DID YOU MAKE THIS EASY RECIPE?
If you have, then share it with us by sending a photo. We’re excited to see what you’ve madePrintable Recipe Card
Want just the essential recipe details without scrolling through the article? Get our printable recipe card with just the ingredients and instructions.