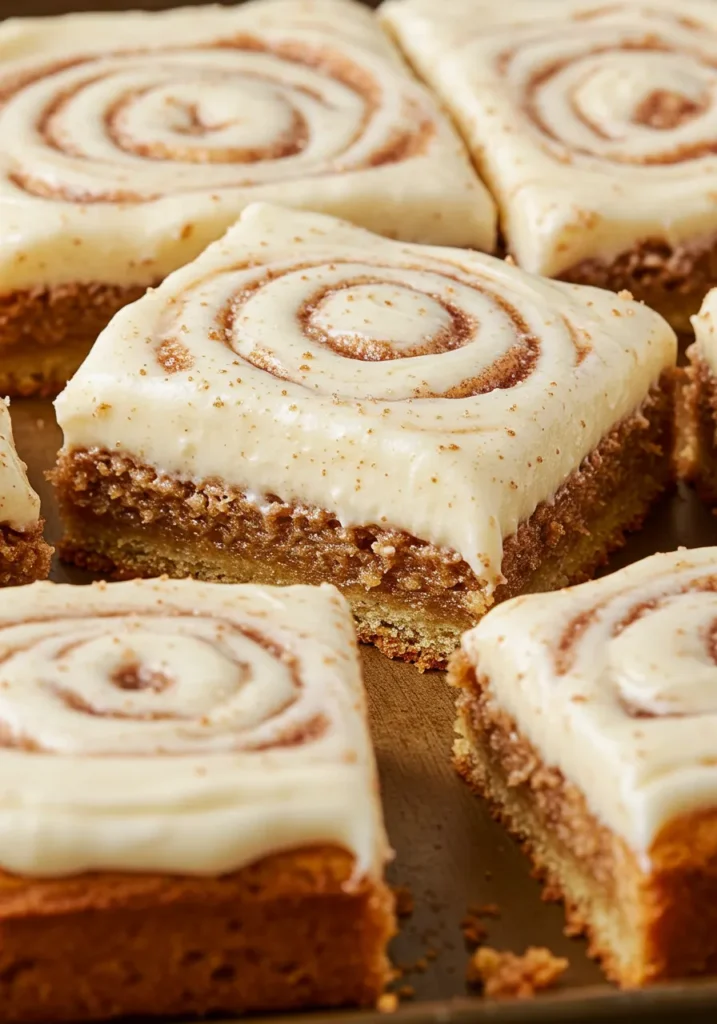
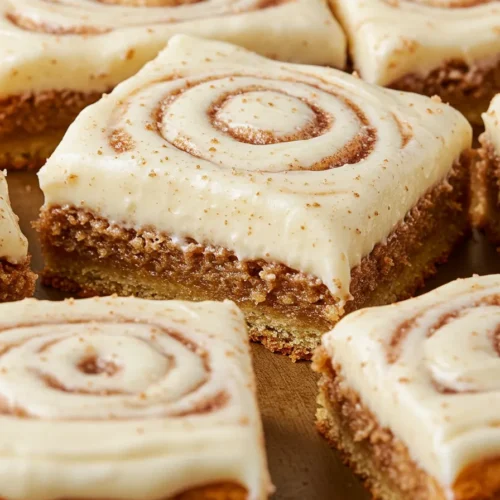
Okay, let’s cut the fluff: cinnamon rolls are awesome. Bars are awesome. So what happens when these two get together? Magic. Pure, sticky-finger, happy-dance-in-the-kitchen magic.
I stumbled onto these cinnamon roll bliss bars on a rainy Sunday when my actual plan was to clean my closet (spoiler: the closet is still a mess). One bite, and I knew these bars deserved more attention than my sad stack of unmatched socks.
If you’re looking for something that tastes like a warm hug but is way easier to make than individual cinnamon rolls, you’re in the right place. Ready to impress your taste buds and anyone within sniffing distance of your oven? Let’s do this.
What Are Cinnamon Roll Bliss Bars Anyway?
You know how regular cinnamon rolls demand rolling, proofing, rolling again, then the kitchen ends up looking like a flour bomb exploded? Yeah… no thanks.
Cinnamon roll bliss bars are like their cooler, lazier cousin.
Here’s why:
- No yeast = no waiting hours for dough to rise.
- No rolling pins needed.
- Bakes in one pan and cuts into perfect little squares.
- All the ooey-gooey cinnamon sugar joy of a cinnamon roll but in portable bar form.
You basically slap everything in a pan, bake it, drizzle some glaze on top, and boom — you’re officially a hero.
Ingredients You’ll Need for Cinnamon Roll Bliss Bars
The beauty of these bars? You don’t need fancy stuff. Your pantry’s probably already 80% there.
Here’s the rundown:
For the bars:
- 1 cup unsalted butter, melted (aka flavor gold)
- 1 ½ cups brown sugar
- 2 large eggs
- 2 teaspoons vanilla extract
- 2 cups all-purpose flour
- 1 teaspoon baking powder
- ½ teaspoon salt
- 1 tablespoon ground cinnamon (don’t skimp here!)
- ½ cup chopped pecans or walnuts (optional but highly recommended IMO)
For the glaze:
- 1 cup powdered sugar
- 2–3 tablespoons milk or cream
- ½ teaspoon vanilla extract
Pro tip: If you happen to have some cream cheese lying around and want to go full-send, you can swap the glaze for a quick cream cheese frosting. No one’s judging. 😉
Step-by-Step: How to Make Cinnamon Roll Bliss Bars
Alright, roll up those sleeves (pun totally intended) because we’re diving into the fun part.
Step 1: Preheat & Prep
Set your oven to 350°F (175°C). Line a 9×13-inch baking pan with parchment paper or spray with nonstick spray.
Why parchment? Because scrubbing baked-on sugar off a pan is a special kind of punishment, that’s why.
Step 2: Mix Wet Ingredients
In a big bowl, whisk together the melted butter and brown sugar. Add eggs and vanilla. Whisk until it’s smooth and glossy — kinda like caramel but thicker.
Step 3: Add Dry Ingredients
Toss in the flour, baking powder, salt, and cinnamon. Mix until you get a thick, luscious batter. If you’re adding nuts, fold those in now.
FYI: Batter will be pretty thick. Like, plop-it-into-the-pan thick. Don’t panic — that’s perfect.
Step 4: Bake
Spread the batter evenly into your pan. Bake for 25–30 minutes, or until a toothpick poked in the center comes out with just a few moist crumbs.
Resist the urge to overbake — nobody wants a dry bar, trust me.
Step 5: Glaze & Serve
While the bars cool slightly, whisk together the powdered sugar, milk, and vanilla until smooth. Drizzle it over the warm bars.
Let them cool (if you can wait) before cutting into squares. Or don’t — I mean, who am I to tell you how to live? 🙂
Why These Bars Beat Regular Cinnamon Rolls (IMO)
Here’s where I get a little opinionated. Cinnamon rolls are great, sure. But sometimes you:
- Don’t have time to knead, rise, punch, and rise again.
- Want something easier to share at a party or potluck.
- Need fewer dishes to wash at the end of the day.
Cinnamon roll bliss bars tick all those boxes. They’re fast, they’re easy, and you don’t need to be a professional baker to make them look (and taste) incredible.
And the best part? They stay soft and chewy for days. If they even last that long in your house. 😉
Tips & Tricks for Next-Level Bars
Because you’re here, and you clearly care about doing this right, here are some extra nuggets of wisdom:
- Don’t skip the parchment paper. Seriously. Your future self will thank you.
- Cinnamon quality matters. Cheap, stale cinnamon = meh. Fresh cinnamon = chef’s kiss.
- Add-ins are your friend. Sprinkle white chocolate chips, raisins, or even a pinch of nutmeg for a fun twist.
- Cut with a sharp knife. Otherwise you’ll end up with a crumbly massacre instead of clean bars.
Ever wondered why bakery bars always look so neat? Sharp knife. Clean cuts. Wipe between slices. Done.
Can You Make These Ahead of Time?
Oh, absolutely. You can bake these a day or two before you need them and store them in an airtight container. They also freeze beautifully (just skip the glaze until after you thaw them).
Perfect for when you want to look like you put in tons of effort… but actually didn’t. 😉
FAQS about Cinnamon Roll Bliss Bars
Can I use salted butter?
Yes, just cut the added salt in the recipe by half.
Can I double the recipe?
You bet. Just use two pans — don’t try to cram double batter into one pan unless you enjoy raw centers and burnt edges.
What if I don’t have brown sugar?
You can use white sugar, but the flavor won’t be as rich. Brown sugar gives that deep, caramel-y goodness.
Pairing Ideas: Because Why Stop at Just Bars?
Want to level up your cinnamon roll bliss bar experience? Try these pairings:
- With a chai latte for peak cozy vibes.
- Crumbled over vanilla ice cream for dessert goals.
- Alongside fresh berries for a sweet and tart contrast.
Heck, I’ve even eaten them for breakfast. Zero regrets.
Related Recipes
Final Thoughts about Cinnamon Roll Bliss Bars
So there you have it — cinnamon roll bliss bars that are simple, scrumptious, and totally worth ditching your weekend plans for.
You get all the nostalgia of a warm cinnamon roll without the drama of yeast and waiting. Just mix, bake, glaze, and bask in the glory of your kitchen smelling like heaven.
I mean, what are you even waiting for? Go preheat that oven and make some bliss happen already. And hey — if you don’t end up licking the glaze bowl, are you even doing it right? 😏
TL;DR: Quick Recap
✅ Easy, no-yeast cinnamon roll flavor
✅ One bowl, one pan, minimal cleanup
✅ Perfect for parties, potlucks, or hoarding for yourself
✅ Stays soft & chewy for days
✅ Can (and should) be eaten for breakfast, snack, or dessert
If you make these and don’t fall in love, well… I’ll be shocked. But I’ll also eat your share, so no worries. 😉
Now go on — whip up a batch, snap a pic, and enjoy your cinnamon roll bliss bars like the baking rockstar you are. FYI: Don’t forget to save me a square. Or three.
Cinnamon Roll Bliss Bars Recipe
Ingredients
- 1 cup unsalted butter softened
- 1 cup granulated sugar
- 2 large eggs
- 2 tsp vanilla extract
- 2 cups all-purpose flour
- 1 tsp baking powder
- ½ tsp salt
- ½ cup brown sugar
- 1 tbsp ground cinnamon
- 1 cup powdered sugar
- 2 –3 tbsp milk
Instructions
- Preheat oven to 350°F (175°C) and grease a 9x13-inch pan.
- In a large bowl, cream butter and granulated sugar until light and fluffy.
- Beat in eggs and vanilla until well combined.
- Stir in flour, baking powder, and salt until just combined.
- Spread half of the batter into the prepared pan.
- Mix brown sugar and cinnamon; sprinkle evenly over the batter.
- Drop remaining batter in spoonfuls over the cinnamon mixture and gently spread.
- Bake for 25 minutes or until edges are golden.
- Whisk powdered sugar with milk to form glaze; drizzle over cooled bars.
- Slice and serve.
Notes
- For extra flavor, add a pinch of nutmeg to the cinnamon-sugar filling.
- Store in an airtight container for up to 4 days.
- Can be frozen for up to 2 months; thaw before glazing.
DID YOU MAKE THIS EASY RECIPE?
If you have, then share it with us by sending a photo. We’re excited to see what you’ve made 🙂Printable Recipe Card
Want just the essential recipe details without scrolling through the article? Get our printable recipe card with just the ingredients and instructions.

