Ah, the sweet tart crust — the unsung hero of every gorgeous fruit tart you’ve ever drooled over on Instagram. Without it, your perfect lemon curd or silky pastry cream would just sit there sadly in a dish. Not cute.
So, if you’re tired of store-bought shells that taste like cardboard (don’t @ me — you know it’s true), let me show you how to whip up a proper, buttery, flaky, sweet tart crust that even your picky aunt won’t criticize.
Ready? Let’s roll. (Pun 100% intended.)
Why Make Your Own Sweet Tart Crust?
Okay, so you’re probably thinking:
“Why go through the trouble when I can just grab a premade one at the store?”
Great question, my skeptical friend. Here’s why making your own crust is worth the extra 20 minutes:
- It actually tastes good. Homemade crust has that melt-in-your-mouth buttery sweetness you just can’t fake.
- You control the ingredients. No weird preservatives or unpronounceable chemicals.
- It looks impressive. People will assume you’re a culinary genius, and who doesn’t want that?
- It’s cheaper. Seriously, have you seen the price of those fancy tart shells? Highway robbery.
Still not convinced? Well, stick around anyway — you’ll come around once you smell this baby baking.
Ingredients You’ll Need for Sweet Tart Crust
Here’s the beauty of this recipe — you probably already have most of these ingredients chilling in your pantry. If not, they’re all super easy to find.
What you need:
- 1 1/4 cups (150g) all-purpose flour
- 1/2 cup (60g) powdered sugar (because we want sweet, not sickly sweet)
- 1/4 teaspoon salt
- 1/2 cup (115g) unsalted butter, cold and cubed
- 1 large egg yolk
- 1–2 tablespoons ice water (only if needed)
That’s it. Six humble ingredients. No voodoo magic required.
Step-by-Step: How to Make the Perfect Sweet Tart Crust
Alright — apron on, hands washed, playlist queued up? Let’s do this.
1. Mix the dry ingredients
In a big mixing bowl, whisk together the flour, powdered sugar, and salt. Simple. Don’t overthink it.
2. Cut in the butter
Here’s where things get fun (or messy, depending on your perspective). Add your cold, cubed butter into the flour mixture. Using a pastry cutter (or just your fingers if you’re feeling rustic), work the butter into the flour until it looks like coarse crumbs — think wet sand with little pea-sized bits of butter here and there.
3. Add the egg yolk
Throw in your egg yolk and stir it into the mixture. It should start clumping together like dough now. If it’s still too dry and crumbly, add ice water one teaspoon at a time until it just comes together.
FYI: Don’t overdo it on the water — nobody likes a soggy crust.
4. Chill that dough
Form the dough into a disk, wrap it in plastic, and pop it in the fridge for at least 30 minutes. This keeps the butter cold (which equals flakiness) and makes it way easier to roll out later.
5. Roll it out & shape it
Once chilled, roll the dough out on a lightly floured surface until it’s about 1/8 inch thick. Gently lift it into your tart pan and press it evenly along the bottom and sides. Trim any excess dough and prick the bottom all over with a fork (to prevent puffing).
6. Bake it
For a pre-baked crust (a.k.a. blind-baked), line it with parchment paper, fill it with pie weights or dried beans, and bake at 350°F (175°C) for about 15 minutes. Then remove the weights and bake for another 10–12 minutes until golden brown.
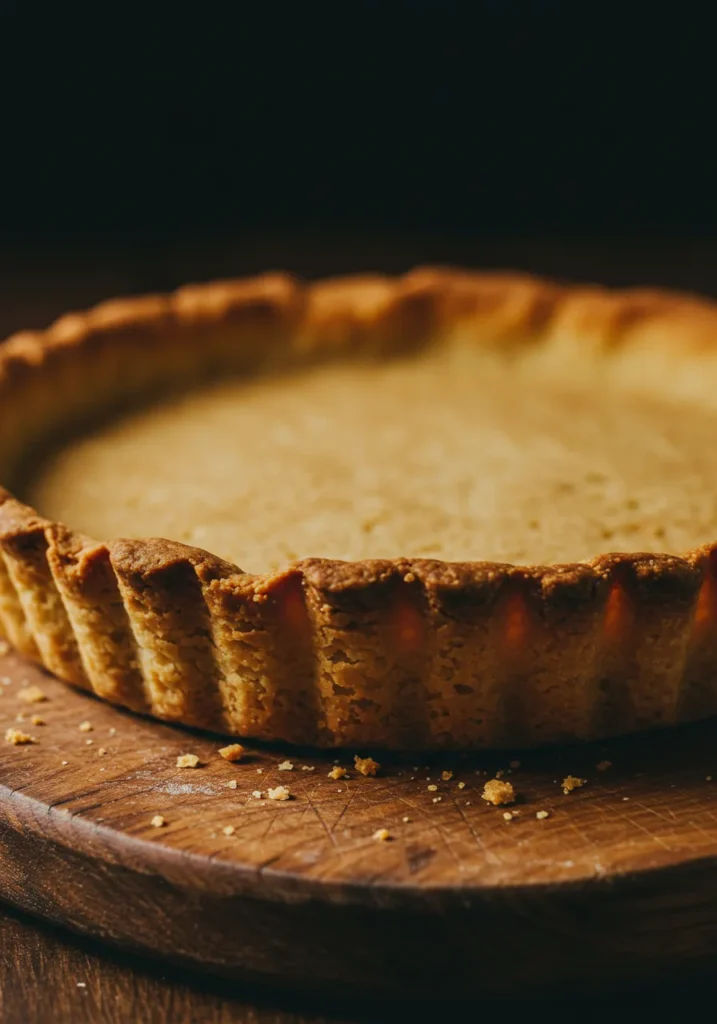
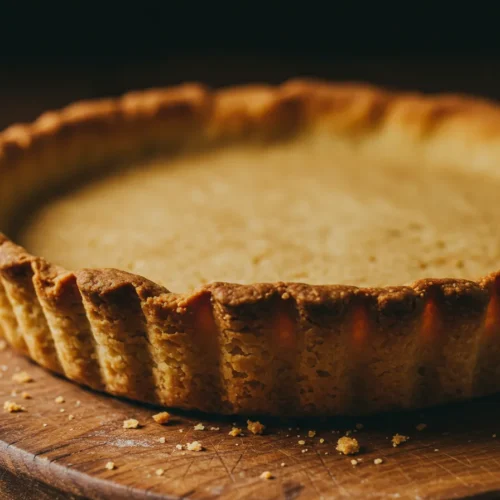
Voilà. You’ve just baked a sweet tart crust that could make Paul Hollywood shed a tear.
Pro Tips for Next-Level Tart Crusts
Alright, now that you’ve got the basics down, here are a few pro-level tips to elevate your game. (Because why settle for good when you can be legendary, right?)
- Use cold ingredients. The colder the butter and water, the flakier the crust. Don’t get lazy on this one.
- Don’t overwork the dough. Stop mixing as soon as it comes together, or you’ll end up with a tough crust. Nobody likes chewing on cardboard.
- Chill again before baking. After you press the dough into the pan, chill it for another 10–15 minutes before baking. This helps prevent shrinking.
- Get creative. Want a nutty twist? Replace 1/4 cup of flour with almond flour. Feeling fancy? Add a pinch of cinnamon or lemon zest.
Common Mistakes (And How to Avoid Them)
Because even the best of us mess up sometimes — here are some classic mistakes I’ve (definitely) made before and how you can avoid them:
Mistake #1: Dough is too crumbly
You probably didn’t add enough moisture. Next time, add a little more ice water — but do it sparingly, one teaspoon at a time.
Mistake #2: Crust shrinks while baking
Ah, the dreaded shrinkage. (Insert inappropriate joke here.) Always chill your crust before baking and don’t stretch the dough when placing it in the pan.
Mistake #3: Bottom is soggy
Nobody wants a soggy bottom. Blind bake the crust properly, and if you’re filling it with something super wet, brush the crust with a little beaten egg white and bake for 2 minutes to create a moisture barrier.
Serving Suggestions
Alright, now comes the fun part — filling your masterpiece! What should you put inside your glorious crust?
Here are a few tried-and-true ideas:
- Classic fruit tart — pastry cream + fresh berries. Always a winner.
- Chocolate ganache tart — dark chocolate + a sprinkle of sea salt = pure bliss.
- Lemon tart — tart, bright, and impossible to resist.
- Nut tart — think pecans, walnuts, or even pistachios with caramel.
You can even go rogue and create a savory quiche with the same crust (just skip the sugar). Who’s gonna stop you?
Why This Recipe Beats the Rest
You’ll find about a million tart crust recipes online, so why pick this one? Well:
- It’s foolproof. Even my little cousin who thinks “whisk” is a boy band managed to nail it.
- It’s adaptable. You can tweak it to suit whatever filling you’ve got in mind.
- It’s fast. From start to finish, you’re looking at about an hour — less if you multitask like a boss.
And IMO, it strikes the perfect balance between sweet and buttery without being over the top.
FAQs about Sweet Tart Crust
Let me answer a few questions I know you’re silently screaming at your screen right now.
Can I make it ahead of time?
Yes! You can make and refrigerate the dough up to 3 days in advance, or freeze it for up to a month.
Do I need a tart pan?
Technically no — you can use a pie dish. But if you’re all about those crisp, fluted edges (and bragging rights), get yourself a tart pan with a removable bottom.
Can I make it gluten-free?
Yep! Just sub in a good-quality gluten-free flour blend. Bonus points if you toss in a little almond flour for flavor.
Related Recipes
Final Thoughts about Sweet Tart Crust
So, there you have it — your ultimate guide to a sweet tart crust that’s anything but basic. Whether you fill it with fruits, chocolate, or just stare at it proudly on your counter (no judgment), this crust is a game changer.
Honestly? Once you taste the buttery, tender perfection of a homemade crust, you’ll never look at those sad, pre-made shells the same way again. Trust me — your taste buds (and your ego) will thank you.
So what are you waiting for? Grab your flour and butter, crank up some tunes, and start rolling. Your future self — the one sitting on the couch eating a perfect tart — is already cheering you on.
And if anyone asks, yes, you can totally tell them this recipe is a family secret. 😉
Happy baking, my friend!
If you have any hilarious baking mishaps (like the time I dropped an entire tart face-down on the floor — chef’s kiss), drop them in the comments below. Let’s laugh and learn together. 🙂
Sweet Tart Crust Recipe
Ingredients
- 1 ¼ cups all-purpose flour
- ½ cup unsalted butter chilled and cubed
- ¼ cup powdered sugar
- ¼ tsp salt
- 1 large egg yolk
- 2 –3 tbsp ice water
Instructions
- In a bowl, whisk together flour, powdered sugar, and salt.
- Cut in the chilled butter until mixture resembles coarse crumbs.
- Add egg yolk and mix gently.
- Add ice water, 1 tbsp at a time, until dough comes together.
- Shape into a disk, wrap in plastic, and chill for 30 minutes.
- Roll out dough and press into a tart pan.
- Prick bottom with a fork and refrigerate for 15 minutes.
- Preheat oven to 375°F (190°C).
- Line crust with parchment and fill with pie weights.
- Bake for 15 minutes, remove weights, and bake 5 more minutes until golden.
Notes
- Chill dough well to prevent shrinkage.
- For extra flavor, add 1 tsp vanilla or almond extract.
- Store baked crust in an airtight container for up to 3 days.
DID YOU MAKE THIS EASY RECIPE?
If you have, then share it with us by sending a photo. We’re excited to see what you’ve made 🙂Printable Recipe Card
Want just the essential recipe details without scrolling through the article? Get our printable recipe card with just the ingredients and instructions.

