Let’s get one thing straight—marshmallow icing isn’t just frosting. It’s the whipped, glossy cloud of sugar that makes your cupcakes scream “hug me.” If you’ve never made it from scratch, you’re in for a ride. If you have made it before, well then, you already know that spoon-licking is non-negotiable. 😏
So why bother making marshmallow icing at home? Because store-bought tubs of frosting taste like someone gave up halfway through dessert. Homemade marshmallow icing, on the other hand, is sweet, fluffy, light-as-air magic. And yes, it’s way easier than people think. FYI, no actual marshmallows required—just a few pantry staples and a touch of sugar wizardry.
Ready to learn how to whip this up like a pro? Let’s roll.
What Exactly Is Marshmallow Icing?
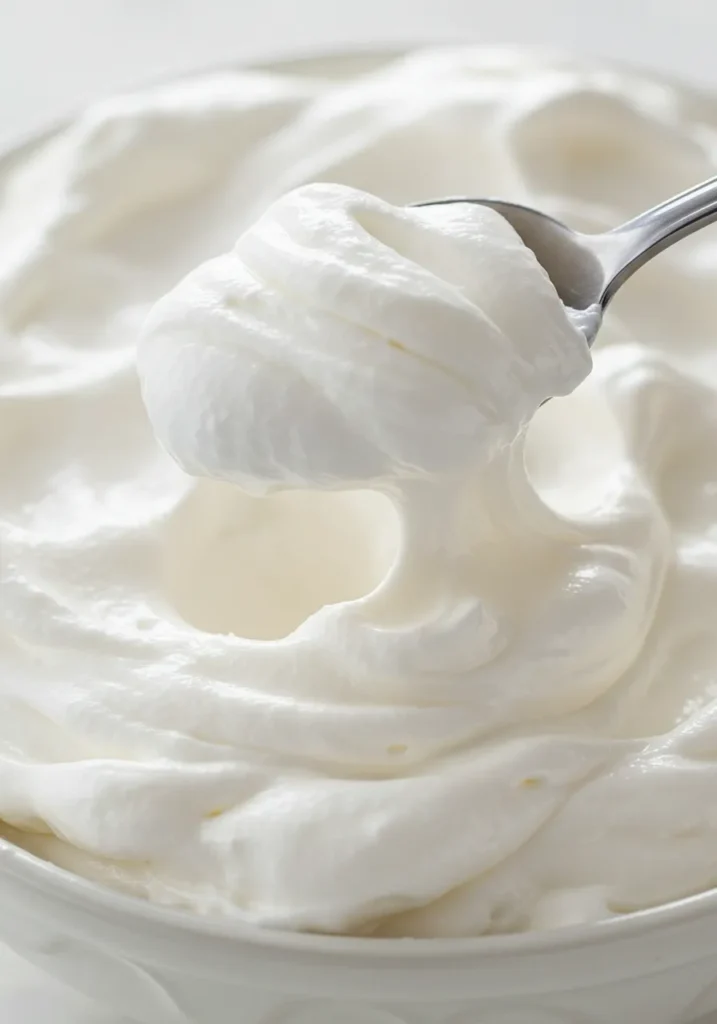
Think of marshmallow icing as the lovechild of meringue and marshmallow fluff. It’s smooth, sticky, glossy, and stable enough to hold its shape on cakes, cupcakes, cookies—or straight from the spoon. (Zero judgment here.)
What makes it different from regular buttercream or cream cheese frosting?
- Lighter texture – It’s less rich and buttery.
- Sweeter flavor – Yep, marshmallow icing is definitely for the sweet tooth gang.
- Glossy finish – It looks like it belongs in a food commercial.
- Heat-set stability – If you torch it a bit, it gets that toasted s’mores vibe. Tell me that’s not tempting.
Ingredients You’ll Need forMarshmallow Icing
Here’s the beauty of it—you only need 5 ingredients. That’s it. No secret unicorn powder, no weird gelatin, nothing fancy.
Basic Marshmallow Icing Ingredients:
- 4 large egg whites (room temp = better volume)
- 1 cup granulated sugar
- 1/4 tsp cream of tartar (don’t skip it unless you like sad, droopy frosting)
- 1 tsp vanilla extract
- A pinch of salt (because balance matters, even in dessert)
That’s it. You probably already have all of this, right?
Step-by-Step: How to Make Marshmallow Icing Like a Boss
Let’s break it down into easy, doable steps. This recipe makes about 4 cups, which is plenty for 12–18 cupcakes or a standard 2-layer cake.
Step 1: Set Up a Double Boiler
Don’t panic—this is way easier than it sounds.
- Fill a saucepan with about 2 inches of water and bring it to a simmer.
- Place a heatproof mixing bowl over the saucepan (glass or stainless steel only—plastic = meltdown).
- The bottom of the bowl shouldn’t touch the water, just hover like a magic marshmallow cloud.
Step 2: Heat It Up
In your heatproof bowl, whisk together:
- Egg whites
- Sugar
- Cream of tartar
- Salt
Keep whisking constantly (no texting!) until the sugar fully dissolves. This takes about 4–5 minutes. You can test it by rubbing a bit between your fingers—if it feels gritty, keep going. If it feels smooth, you’re golden.
Step 3: Whip It Good
Now move the bowl to a stand mixer (or grab your hand mixer and flex those wrists).
- Whip the mixture on high speed for 7–10 minutes until you get stiff, glossy peaks.
- Add in the vanilla during the last minute of mixing.
FYI: If your icing starts looking like shaving cream, congrats—you’re nailing it.
Pro Tips for Success (and Avoiding Frosting Tragedies)
Nobody wants to end up with a runny mess or sugar soup. So here’s what I’ve learned after messing this up… more than once 😬.
- Room temperature eggs whip better. Cold egg whites are just not team players.
- Don’t skip cream of tartar. It stabilizes the meringue and helps it hold shape.
- Keep everything clean and grease-free. Any fat in your bowl will ruin your peaks faster than you can say “oops.”
- Use immediately. This icing is best right after whipping. It doesn’t store super well.
How to Use Marshmallow Icing (aka Let’s Get Fancy)
Now for the fun part—putting that fluffy magic to work. Here’s where marshmallow icing really shines:
On Cupcakes
Swirl it tall like a soft-serve cone and, if you’re feeling bold, torch it lightly with a kitchen torch. Insta-worthy? Check.
On Cakes
Use it for naked cakes or as a light topping on rich chocolate layers. Bonus points for a gooey, toasted finish.
On Cookies
Spread it on graham crackers, sandwich between chocolate cookies, or use it as filling for whoopie pies. Just… chef’s kiss.
As a Fruit Dip
Weirdly amazing, right? Marshmallow icing + strawberries = yes please.
Variations Worth Trying
Once you master the basic marshmallow icing, you can start experimenting. Here are a few twists I love:
Chocolate Marshmallow Icing
Add 1/3 cup melted (and cooled) dark chocolate to the mixture just after whipping. It’s like hot cocoa frosting. Yum.
Peppermint Twist
Add 1/2 tsp peppermint extract instead of vanilla, and swirl in crushed peppermint candies. Hello, holiday vibes.
Lemon Meringue Style
Add 1 tsp lemon zest and a few drops of lemon extract. It’s tart, tangy, and so refreshing on a light vanilla cake.
FAQs about Marshmallow Icing
Can I make this ahead of time?
Short answer: not really. It’s best made fresh. It can sit out for a few hours, but it starts to lose volume after that. If you must prep ahead, make it the day of and ice your dessert ASAP.
Can I torch it?
Heck yes. That’s what makes it s’mores-level good. Use a kitchen torch to get those gorgeous caramelized edges. Just don’t hold the flame too close—this stuff browns fast.
Is it safe with raw eggs?
Great question—and yes, you’re heating the eggs with the sugar until they hit 160°F, which is considered safe. No raw-egg roulette here.
Can I use pasteurized egg whites from a carton?
Ehh… technically yes, but you probably won’t get the same volume. Fresh egg whites whip better—sorry, convenience lovers.
Why I’m Obsessed With This Icing
Okay, real talk—I’ve tried a lot of frostings. Buttercream makes me feel like I just ate a stick of, well, butter. Cream cheese frosting is good but can get heavy. But marshmallow icing? It’s like dessert’s version of a mic drop. Light, sweet, dramatic, and just the right amount of over-the-top.
I once brought a dozen cupcakes topped with toasted marshmallow icing to a party, and not one single person asked me if they were homemade—they just asked for the recipe. #Win
Related Recipes
Final Thoughts about Marshmallow Icing
Let me put it this way: If you’re the kind of person who secretly loves licking the spoon (or not so secretly), then yes—you should absolutely try this.
It’s not complicated. It’s not fussy. And it’s guaranteed to impress anyone who tastes it. Whether you want to top a birthday cake, impress a bake sale crowd, or just make your Tuesday night a little sweeter, marshmallow icing is here for it.
So grab those egg whites, crank up the mixer, and go make something fluffy. You’ve got this.

Marshmallow Icing Recipe
Ingredients
- 1 cup granulated sugar
- ⅓ cup water
- 2 large egg whites
- ¼ tsp cream of tartar
- 1 tsp vanilla extract
Instructions
- Combine sugar, water, and cream of tartar in a saucepan over medium heat.
- Stir until sugar dissolves, then boil without stirring until mixture reaches 240°F (soft-ball stage).
- Meanwhile, beat egg whites until soft peaks form.
- Slowly pour hot syrup into egg whites while beating continuously.
- Continue whipping until stiff, glossy peaks form.
- Beat in vanilla extract and use immediately.
Notes
- Use icing right away as it sets quickly.
- Best for frosting cakes, cupcakes, or as a filling.
- Avoid overcooking the syrup to prevent crystallization.
DID YOU MAKE THIS EASY RECIPE?
If you have, then share it with us by sending a photo. We’re excited to see what you’ve made 🙂Printable Recipe Card
Want just the essential recipe details without scrolling through the article? Get our printable recipe card with just the ingredients and instructions.

